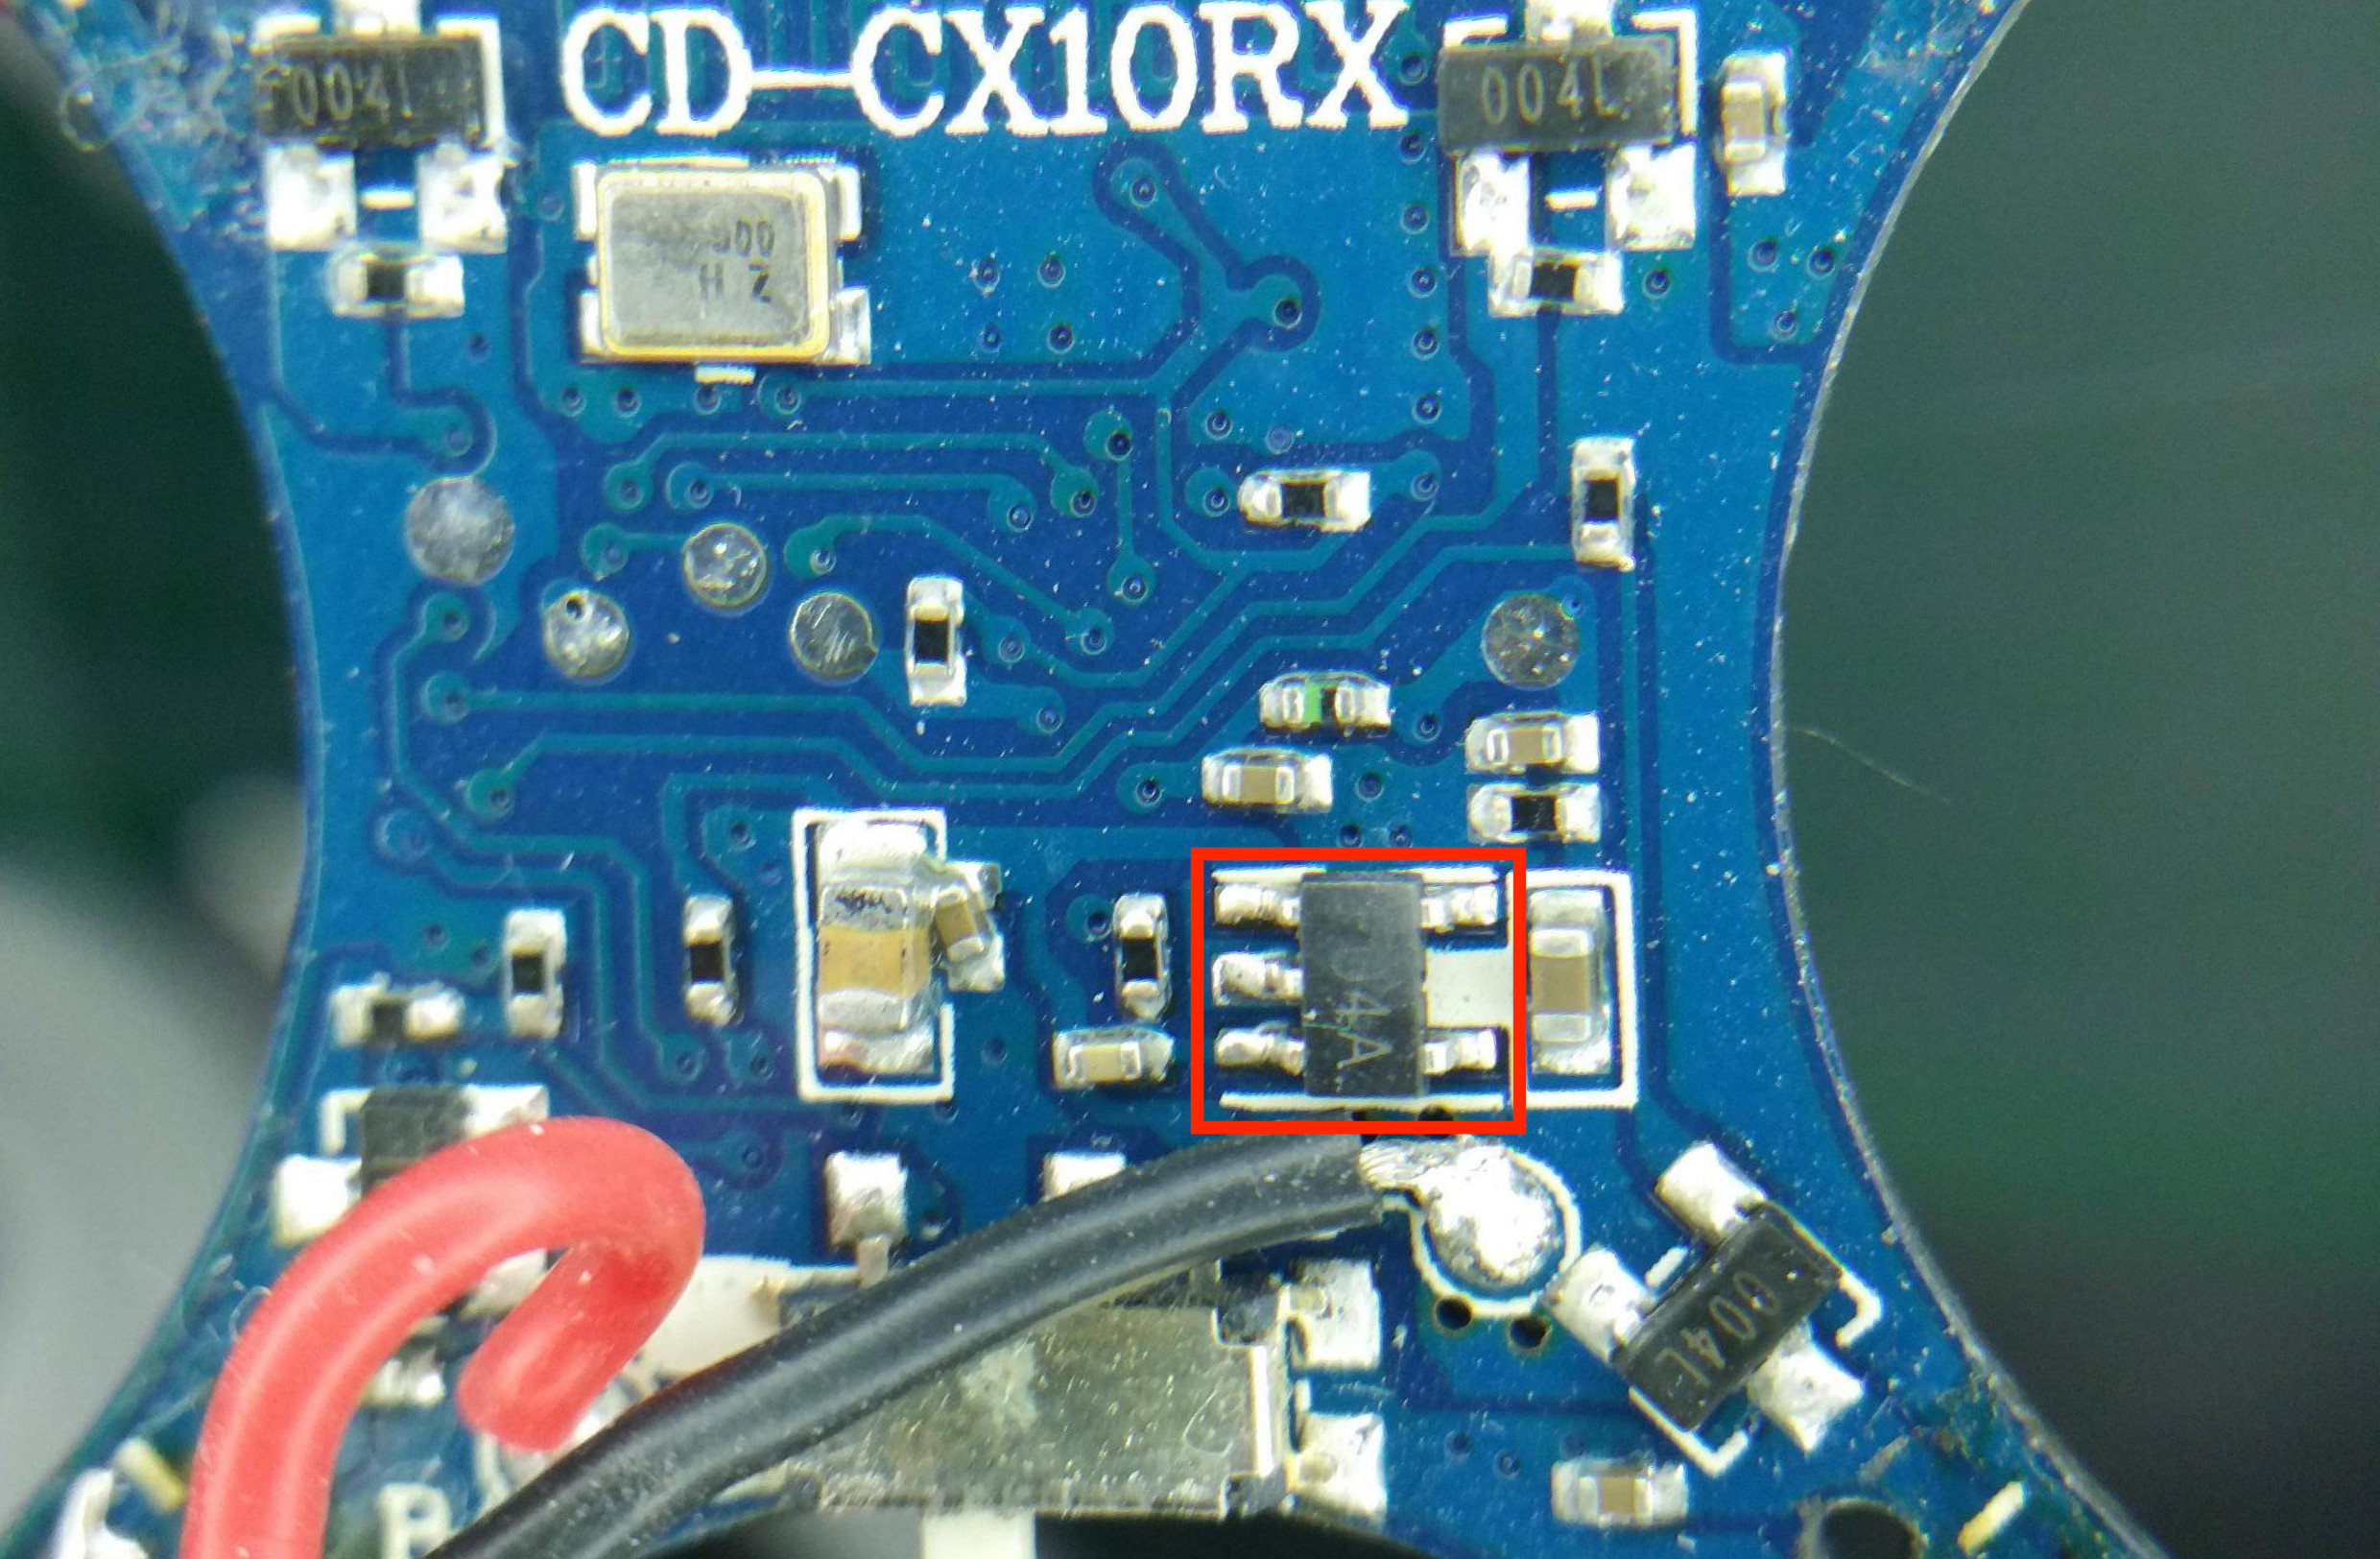
 I crashed my “racing” CX-10 and when I picked it up, it was dead. No spinning props, no lights, nothing. I checked the power from the battery to the board with a multitester and it’s fine. With a heavy heart, I decided to disassemble it for parts. I removed the props and was about to unsolder the motors and the battery when I noticed that the board seems to be missing a small part (see pic, not mine). I went back to the crash site (aka kitchen floor) and sure enough there was a tiny component lying there. It’s surface-mounted but since I didn’t have a heat gun or soldering paste or even flux, I had to make do with my soldering iron and soldering wire. I put tiny amounts of solder onto the tip and gradually pre-tinned the pads and the feet. Then I positioned the component using tweezers and pressed the tip in to melt the solder. It was the tiniest soldering I’ve ever tried and it wasn’t pretty. But once I was finally done, my CX-10 was alive once more!
UPDATE 4/4/2017: And it broke again. This time pulling a pad off. It’s the end for this board :(
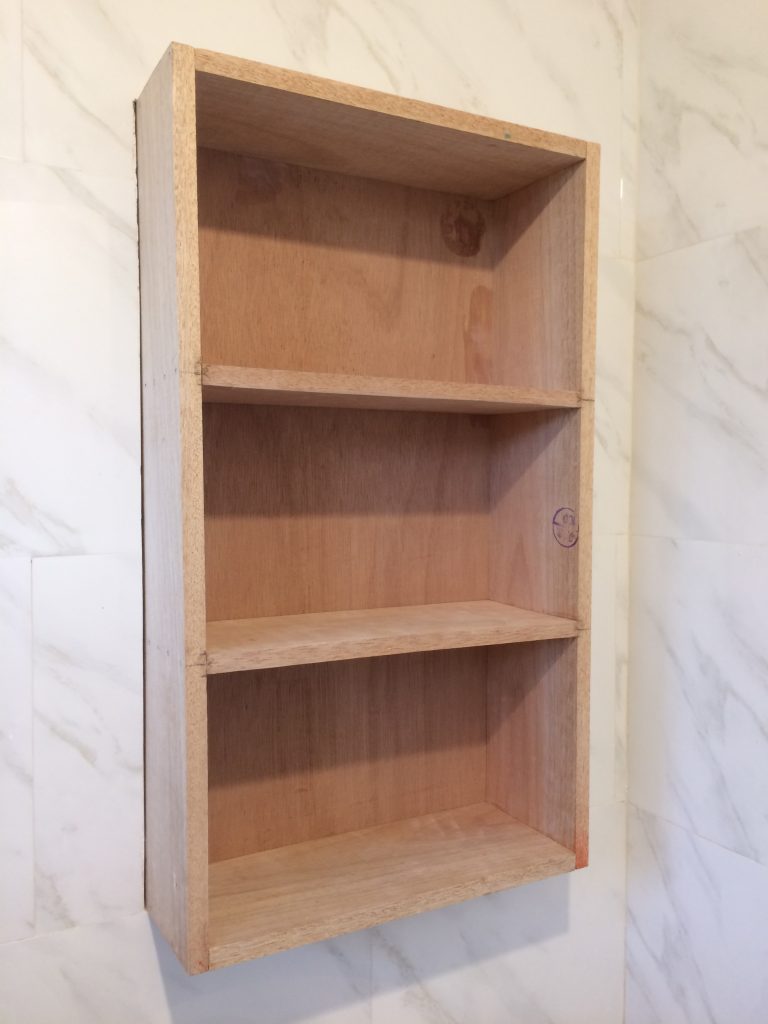
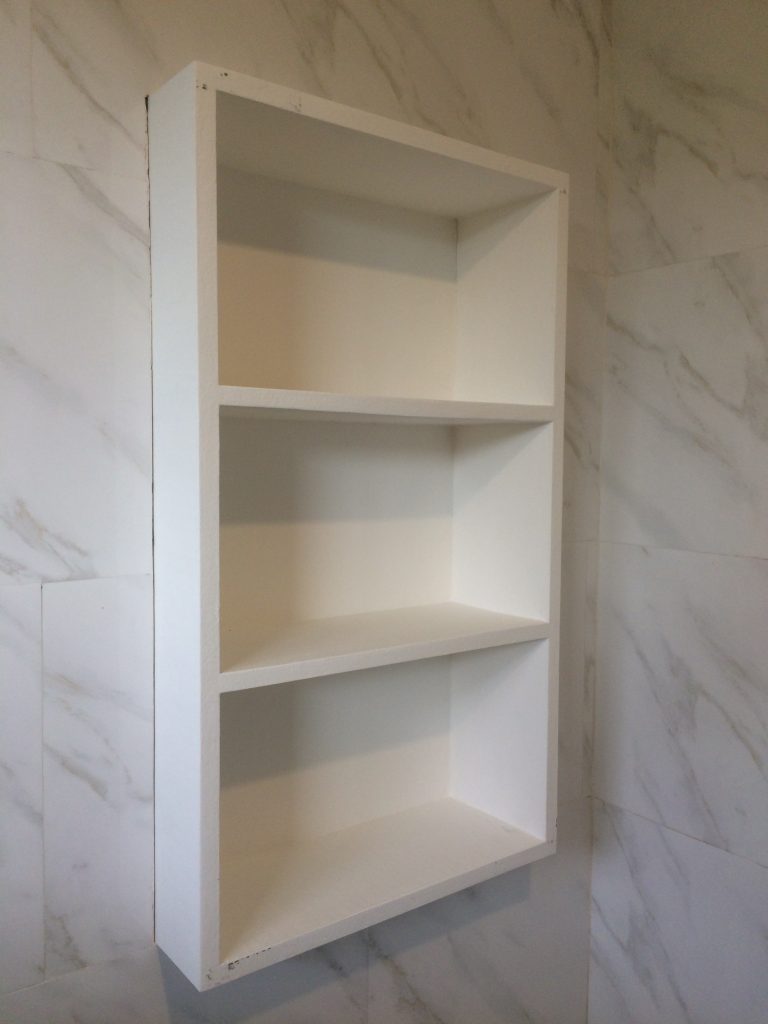
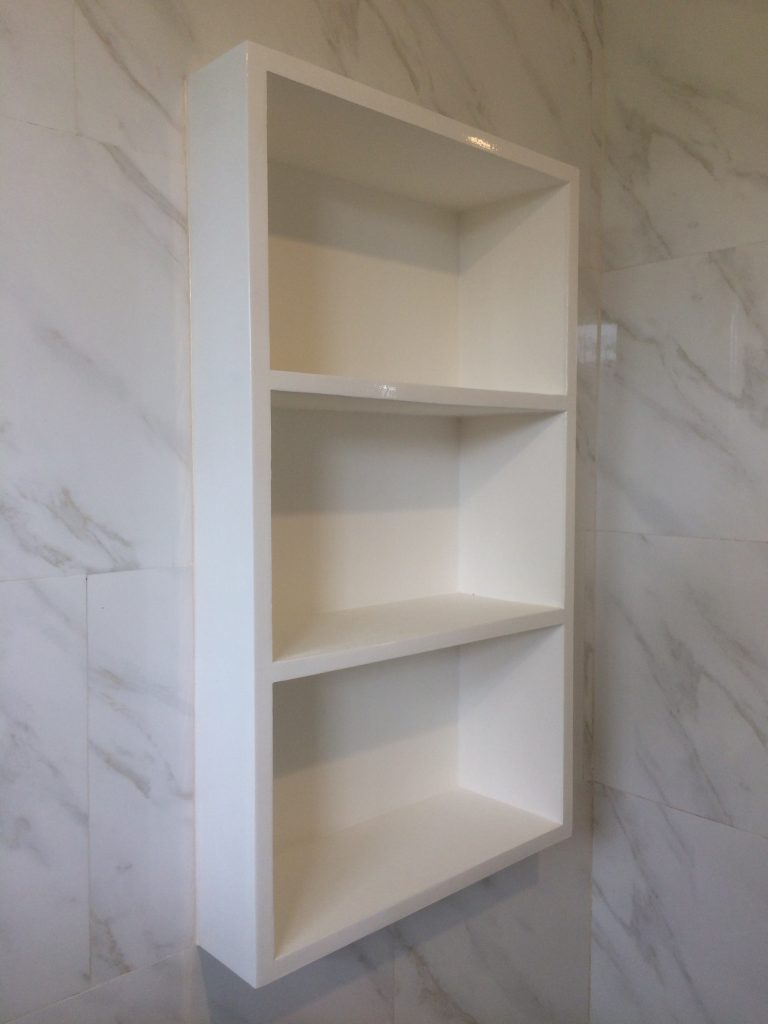 Michelle and I saw this nice-looking medicine cabinet so we had a recess built into the bathroom. Unfortunately, it turned out to be an quite expensive cabinet so I decided to build one instead.