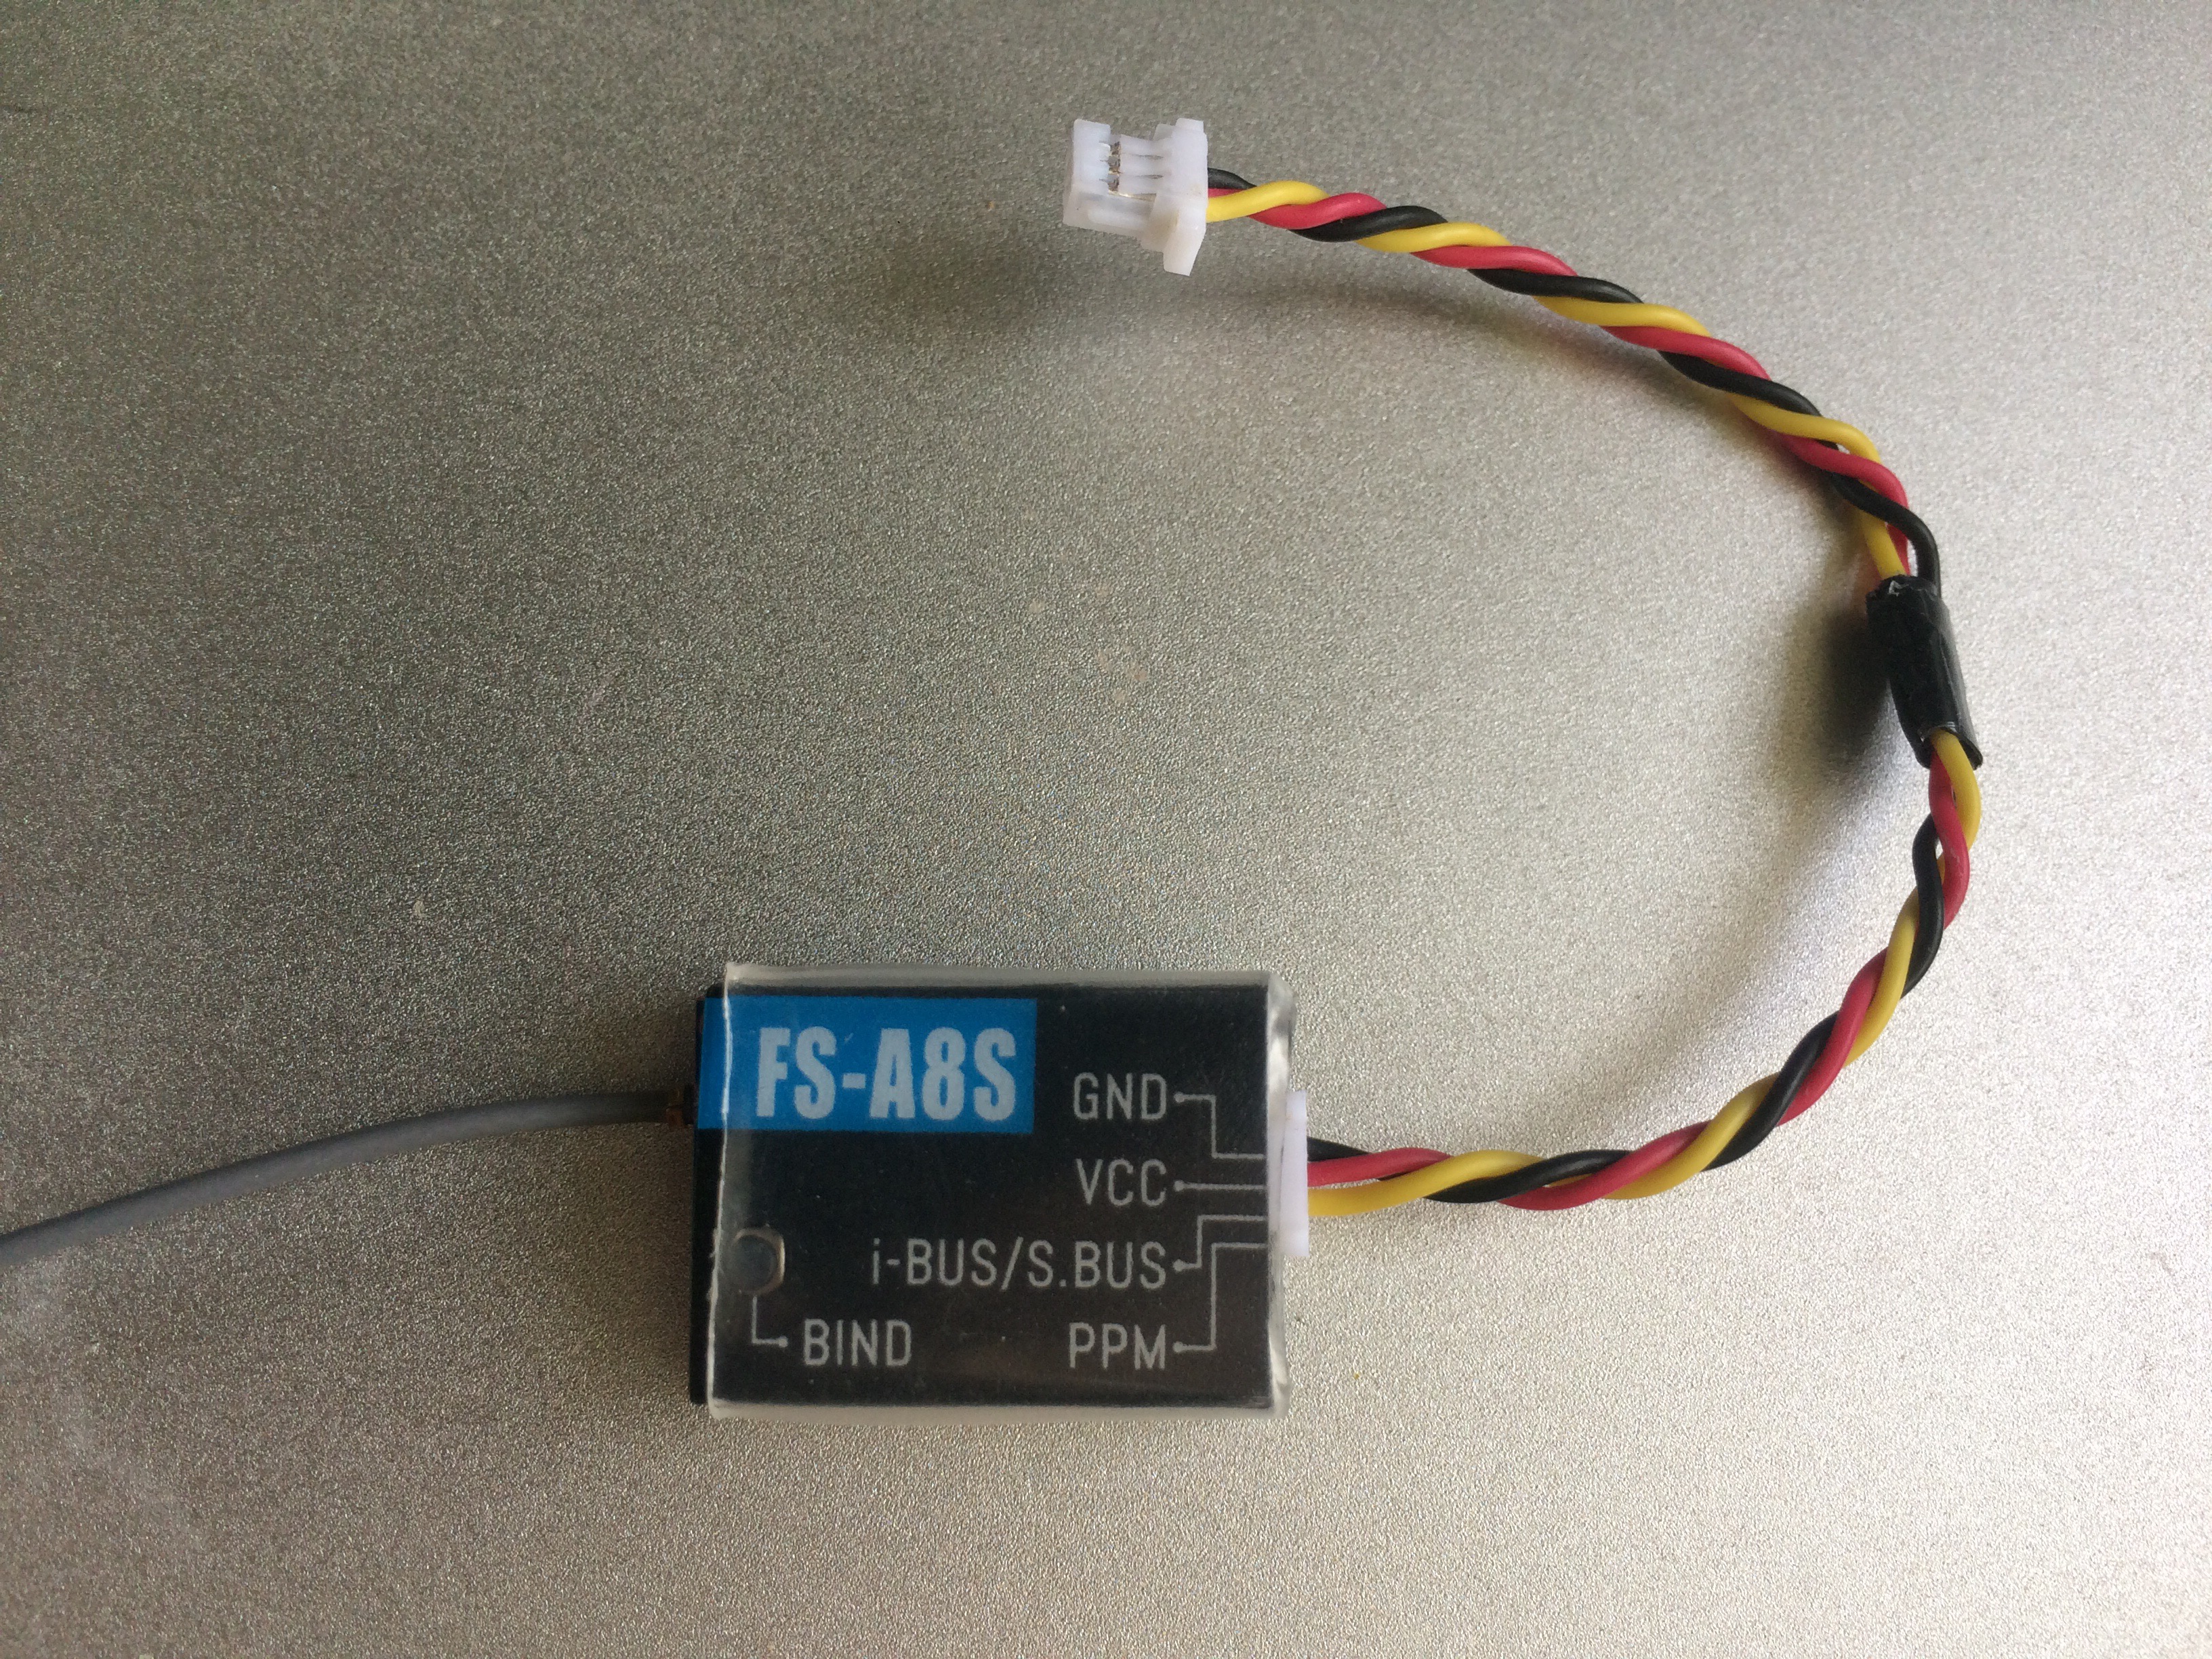
I want to install the Flysky A8S receiver on the KingKong Smart100 but, unfortunately, the cable that came with the receiver requires directly soldering to the flight controller board. There’s already a 4-pin JST-SH connector in place and it’s better to use that. I didn’t have a 4-pin JST-SH connectors but I did have two 3-pin JST-SH connectors from my video transmitters. That’s something we can work with.

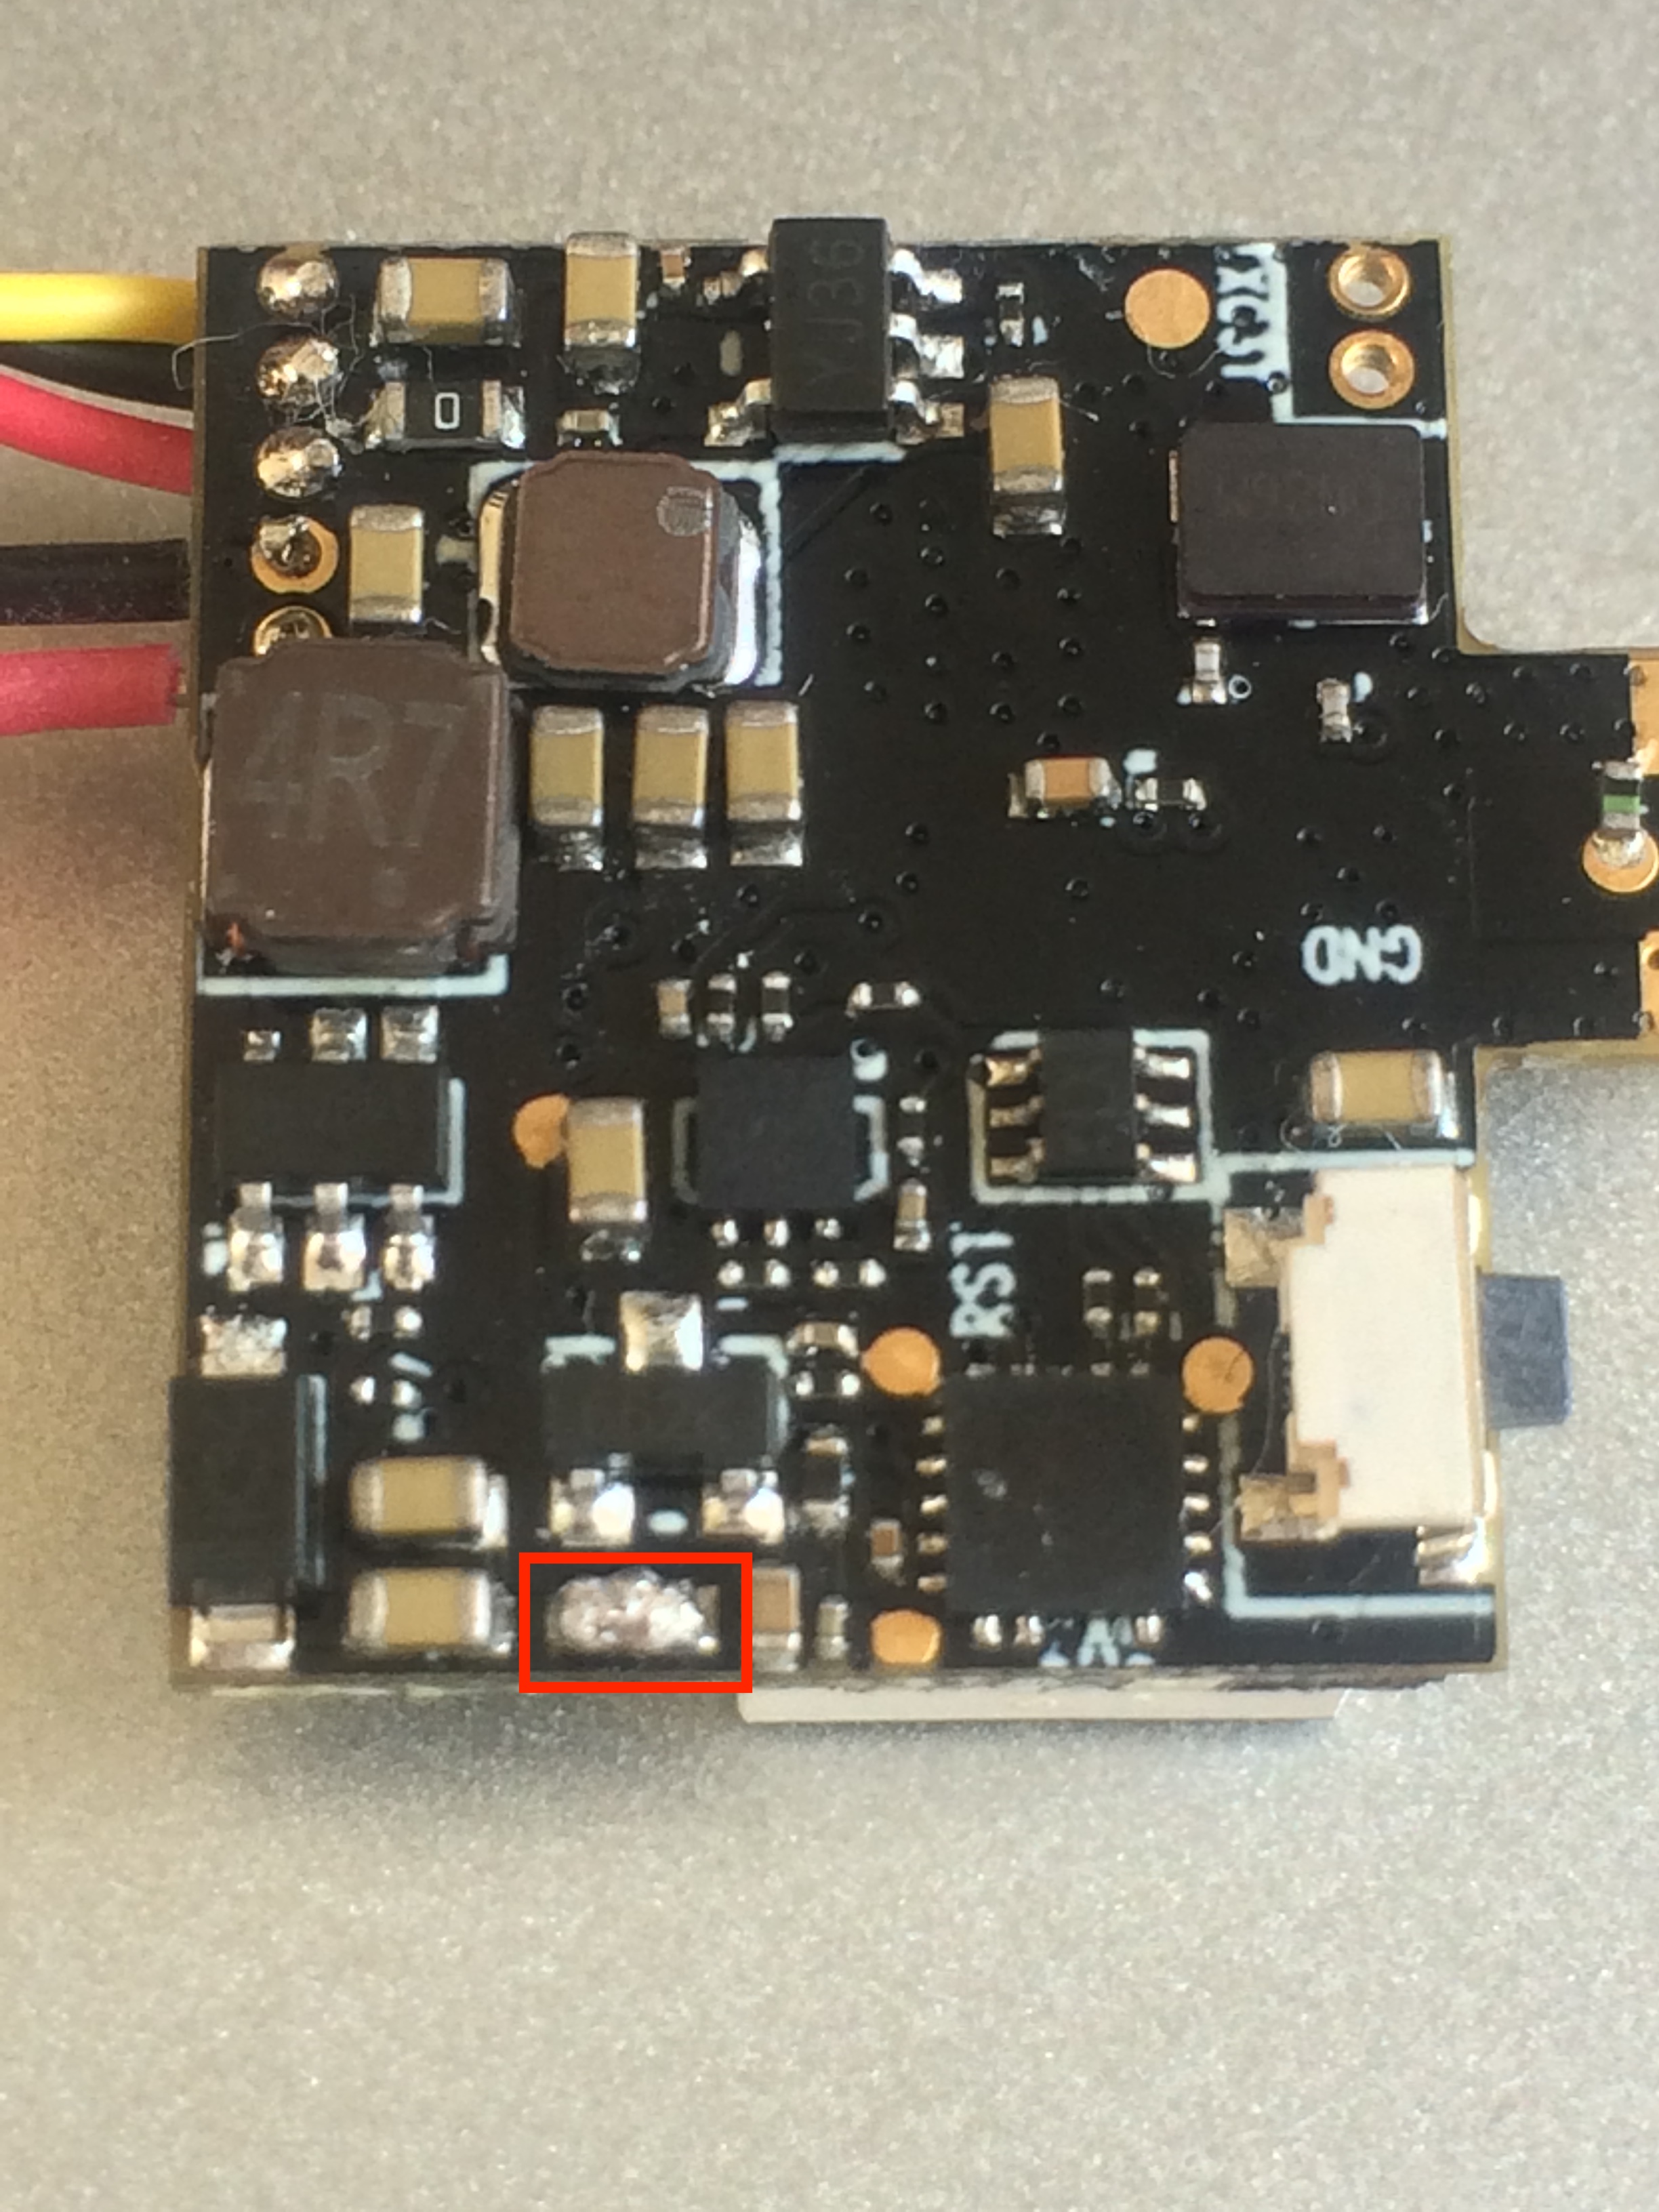 And just like that the VTX03 lit up back to life!