
Writing a business card reader can be tedious. I first tried using Tesseract, an open-source Optical Character Recognition (OCR) engine. But besides OCR, you still need to segment the images, do optical character recognition (OCR) then identify text patterns for names, title, phones, emails, etc and extract them. Quite a lot of work if you have a big stack of business cards to go through.
But thankfully, technology and especially AI has come a long way and we can use widely available AI engines such as OpenAI’s to make the job easier… unbelievably easier. In this post, we’ll go through the whole thing from start to finish.
Part 1. Setting Up Your OpenAI Account
The first thing you need to do, if you haven’t already, is to set up your OpenAI account.
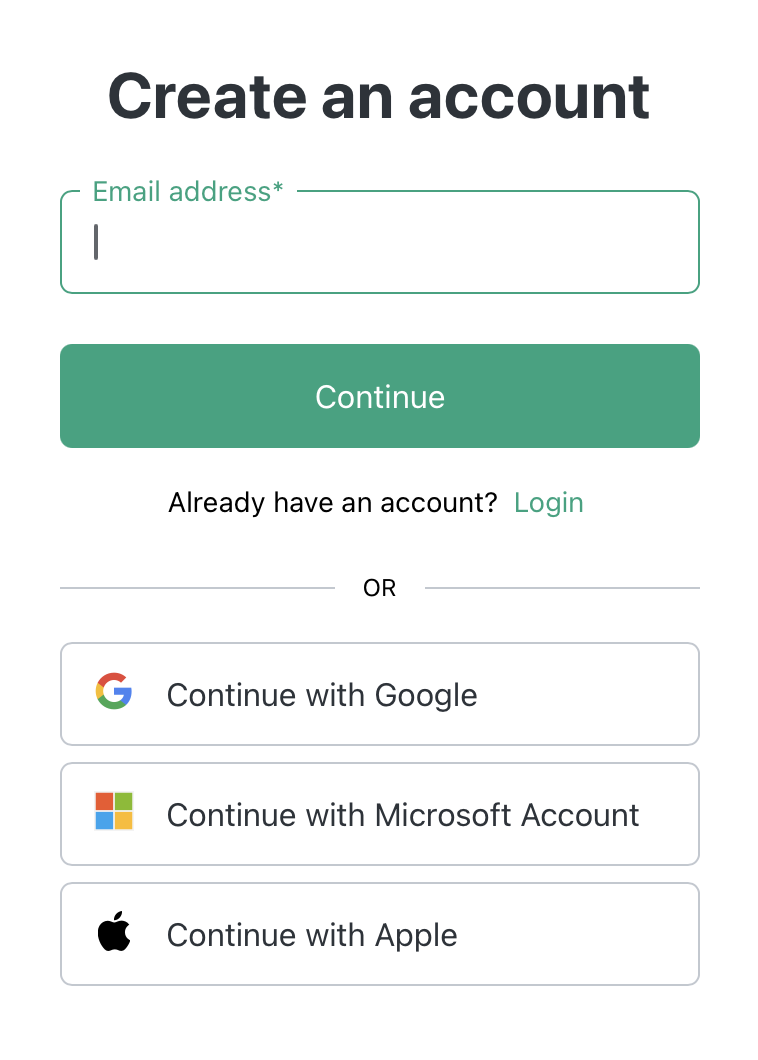
Step 1. Sign up with OpenAI https://platform.openai.com/signup
Step 2. Set up payment
The OpenAI API is not free and to utilize the API, you need credits. Unlike before, OpenAI is no longer giving free trial credits. So you need to set up a payment method to buy credits. Go to Settings->Billing->Payment methods->Add payment Method and add your credit card.

Step 3. Buy credits
From Billing, choose Overview->Add to credit balance.
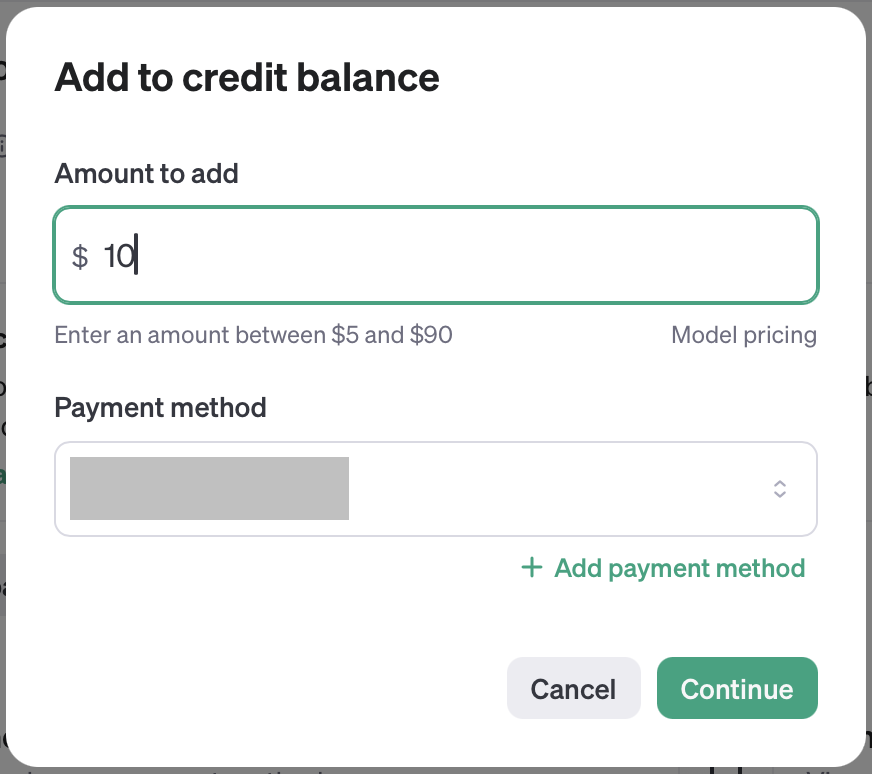
Don’t worry, $10 dollar can go a long way in helping you learn the OpenAI API.
Part 2: Creating Your API key
You will need an API key for your code to access the API. You can create one for each project. Or you can use one for all your projects.
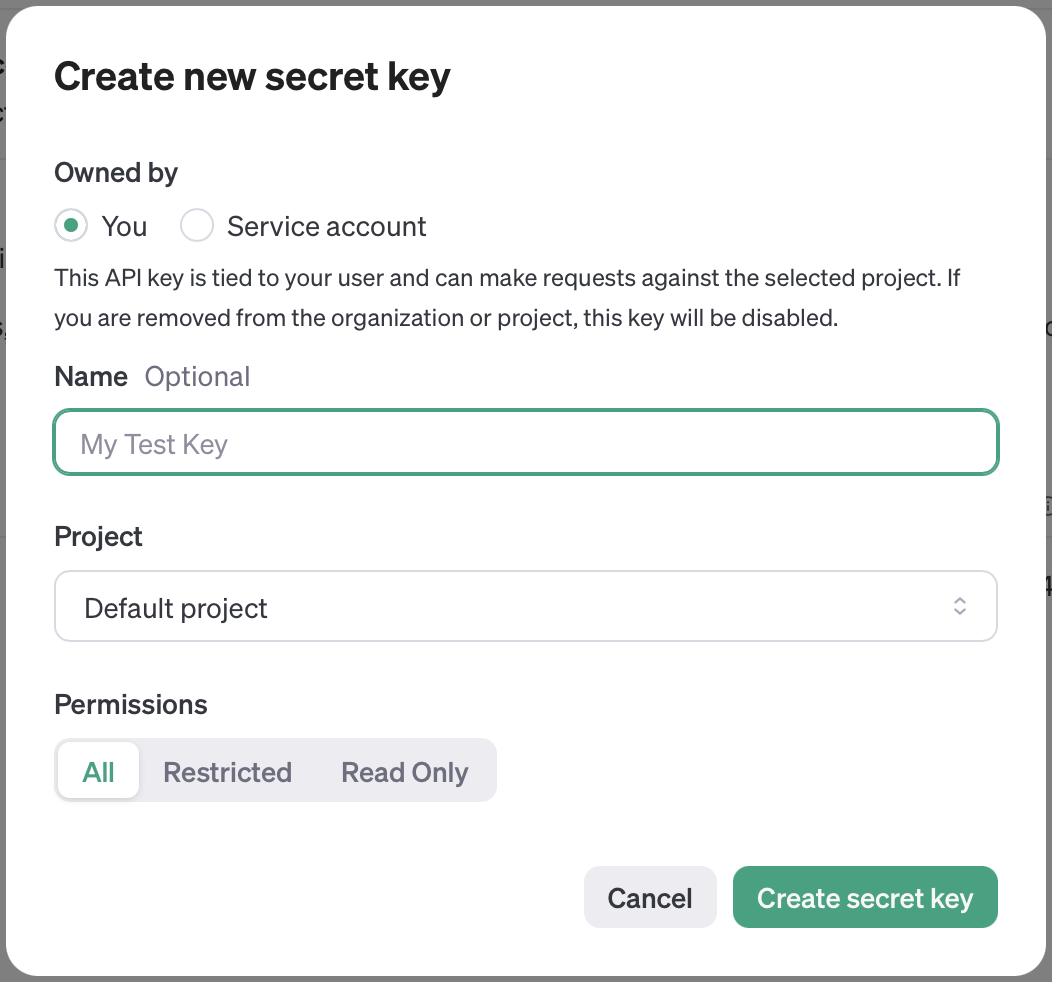
Step 1. Create your API key
Go to Dashboard->API keys->Create new secret key
Step 2. Save your key

Put it somewhere safe and accessible or add to your .bashrc or .zshrc file.
export OPENAI_API_KEY="your_api_key_here"Step 3. Export the key
If you’ve saved it on .bashrc
$ source .bashrc
or if you’ve saved it on .zshrc
% source .zshrc
or just run the export command from your shell prompt.
$ export OPENAI_API_KEY="your_api_key_here"
Part 3: The Data
They often say GIGO: garbage in, garbage out. So for best results, the data you’re going to feed your AI needs to be good. I got the stack of business cards and scanned them one by one using Microsoft Lens. You can, of course, use your favorite scanning app. What’s important is you got good lighting and a steady hand. Put all the files in one folder, e.g. images.
Part 4: The Code
Now for the fun part. The idea is pretty simple:
1. Get the folder containing the business card image files.
2. Go through each file in the folder
    2.1. Check if the file is an image and if so send to ChatGPT with the prompt "identify the contact's name, title, email address, mobile/phone number, company name, industry, and website and output in a comma-delimited string" You can tweak the prompt to get the results you want
    2.2. Append the result from ChatGPT to a CSV file named contacts.csv
For simplicity, I’ll assume you already have node and npm set up. If not, you can find the info here and here.
Step 1. Create a new directory
$ mkdir business-card-scanner
$ cd business-card-scanner
Step 2. Initialize a new node.js project
$ npm init -y
Step 3. Install required packages
$ npm install openai fs path
Step 4. Write the code, I called mine processCards.js. Or you can get it on the GitHub repo.
// Import required packages
const OpenAI = require("openai");
const fs = require("fs").promises;
const path = require("path");

// Instantiate OpenAI with API secret key
const openai = new OpenAI({
    apiKey: process.env.OPENAI_API_KEY,
});

// Check if file is an image
function isImageFile(filePath) {
    const ext = path.extname(filePath).toLowerCase();
    return ['.jpg', '.jpeg', '.png', '.gif'].includes(ext); // Adjust extensions as needed
}

// Send to ChatGPT
async function processImageFile(filePath) {
    try {
        // Read the image content as base64 encoded string
        const imageBuffer = await fs.readFile(filePath);
        const base64Image = Buffer.from(imageBuffer).toString("base64");

        // Send the base64 encoded image content to ChatGPT
        const response = await openai.chat.completions.create({
            model: "gpt-4o-mini",
            messages: [
                {
                    role: "user",
                    content: [
                        {
                            type: "text",
                            text: "identify the contact's name, title, email address, phone number, company name, industry, and website and output in a comma-delimited string" },
                        {
                            type: "image_url",
                            image_url:
                            {
                                url: "data:image/jpeg;base64,"+base64Image
                            }
                        }
                    ],
                },
            ],
        });

        // console.log(response.choices[0]);
        content = response.choices[0].message.content;
        console.log(content);

        return content;
    } catch (error) {
        console.error("Error processing image:", error);
    }
}

// Append the result from ChatGPT to a CSV file
async function appendToFile(filePath, content) {
    try {
        await fs.appendFile(filePath, content, 'utf8');
        console.log('Content appended successfully!');
    } catch (err) {
        console.error('Error appending content:', err);
    }
}

// Go through each file in the folder
async function processFolder(folderPath) {
    try {
        const files = await fs.readdir(folderPath);

        for (const file of files) {
            const filePath = path.join(folderPath, file);

            if (isImageFile(filePath)) {
                const extractedData = await processImageFile(filePath);
                await appendToFile('contacts.csv', extractedData + '\n');
                console.log('Processed:', filePath);
            } else {
                console.warn('Skipping non-image file:', filePath);
            }
        }
    } catch (error) {
        console.error('Error processing folder:', error);
    }
}

// Get the folder containing the business card image files.
const folderPath = process.argv[2];

if (!folderPath) {
    console.error("Please provide a folder path as an argument.");
    process.exit(1);
}

processFolder(folderPath);
Step 5. Run the code
Run the code from your shell prompt:
$ node processCards images
If everything works out right, you should have a contacts.csv file that contains the business card information you want to get.
This is just a simple use of the OpenAI API. There are certainly more complex tasks you can do with the API and with AI in general and I hope this post helped you get started exploring.
Thank you for reading!