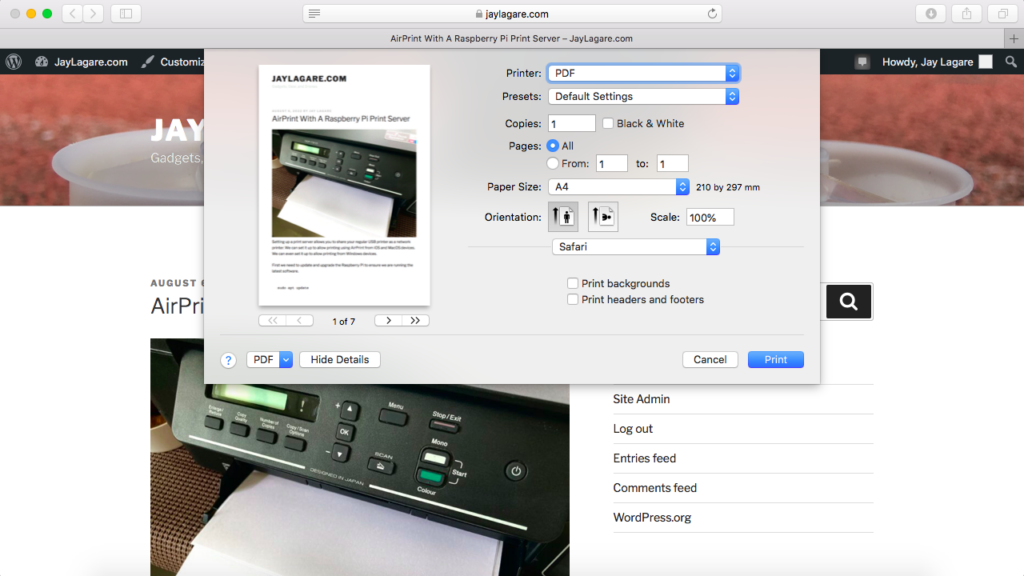
 Setting up a print server allows you to share your regular USB printer as a network printer. We can set it up to allow printing using AirPrint from iOS and MacOS devices. We can even set it up to allow printing from Windows devices. Let’s set up one with a basic Raspberry Pi W. Of course, the higher Pis would do as well.
First we need to update and upgrade the Raspberry Pi to ensure we are running the latest software.
sudo apt update
sudo apt upgrade
Now we can start installing packages.
CUPS
First, we’ll install CUPS. CUPS is a standards-based, open source printing system developed by Apple Inc. for macOS and other UNIX-like operating systems.
sudo apt install cups
We need to add the pi user to the lpadmin group. This group will allow the pi user to access the administrative functions of CUPS without needing to use the superuser.
sudo usermod -a -G lpadmin pi
We also need to make CUPS accessible across the network.
sudo cupsctl --remote-any
Restart CUPS for the changes to take effect.
sudo systemctl restart cups
PDF Printer
Next we’ll install CUPS-PDF to give us a test printer as well as be able to print out as PDFs.
sudo apt-get install printer-driver-cups-pdf
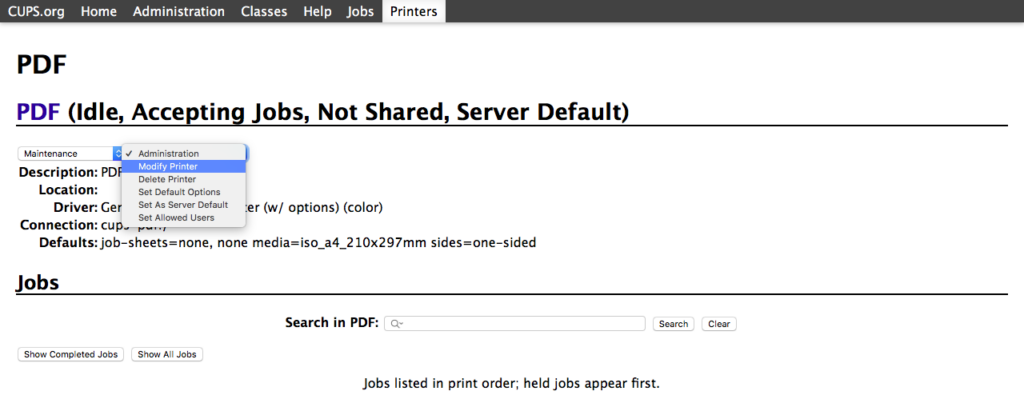
Now we need to share the PDF printer. Open the CUPS printers page: https://<<Raspberry Pi IP Address>>:631/printers
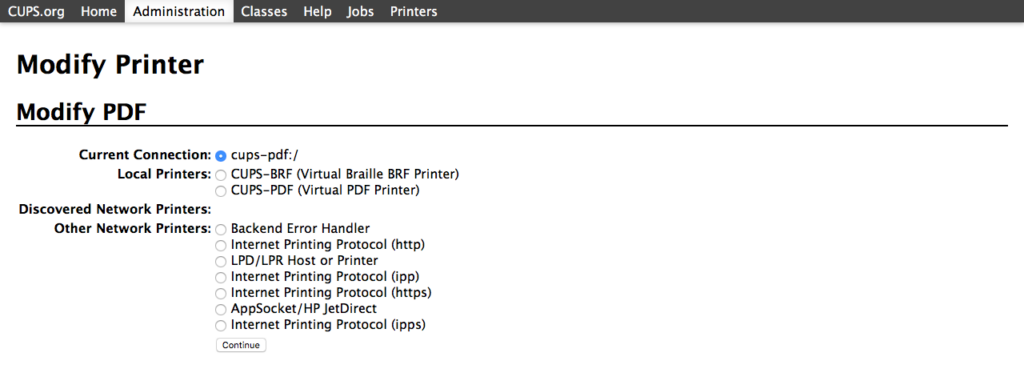
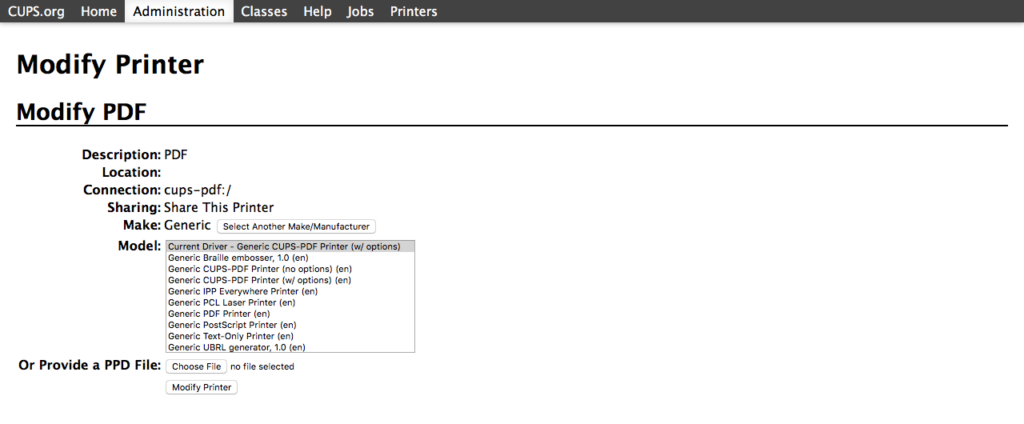
Select Modify.
 Under “Sharing”, make sure “Share This Printer” is checked. Press Continue.
Our test PDF printer is now ready to use.
AirPrint
To use AirPrint to print on the Raspberry Pi print server, we need to install Avahi. This package is an implementation of Apple’s Zeroconf/Bonjour service discovery system and is what AirPrint uses to connect your iOS devices and other devices, in this case the Raspberry Pi.
sudo apt install avahi-daemon
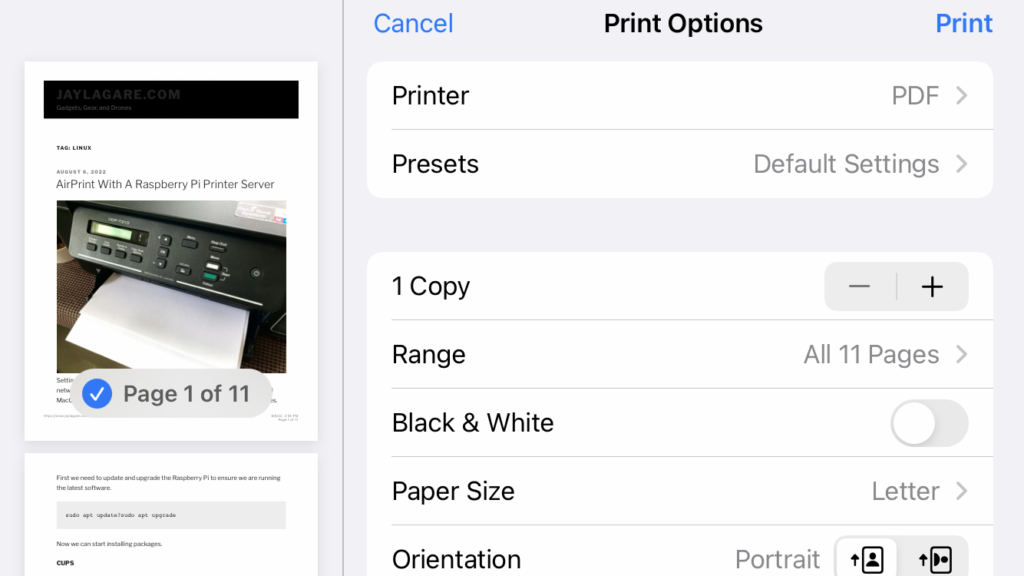
You should now be able to print to the PDF printer from your iOS device and even your MacOS devices.
Samba
We need to provide access to where the PDF output is stored. For that we need Samba. We also need Samba to be able to share printers to Windows devices.
sudo apt install samba
Now we need to share the directory where the PDF output is stored.
sudo nano /etc/samba/smb.conf
Add the following to the end of the file:
#PDF Printer Spool
[pdfspool]
comment = PDF Printer Spool
browseable = yes
path = /var/spool/cups-pdf/ANONYMOUS
printable = no
guest ok = yes
read only = yes
create mask = 0700
Restart Samba for the changes to take effect.
sudo systemctl restart smbd
You should now be able to access the share where the PDF output is stored: \\raspberrypi\pdfspool.
USB Printer
To add a regular USB printer, connect the printer to the USB port of the Raspberry Pi and open the CUPS administration page: https://<<Raspberry Pi IP Address>>:631/admin
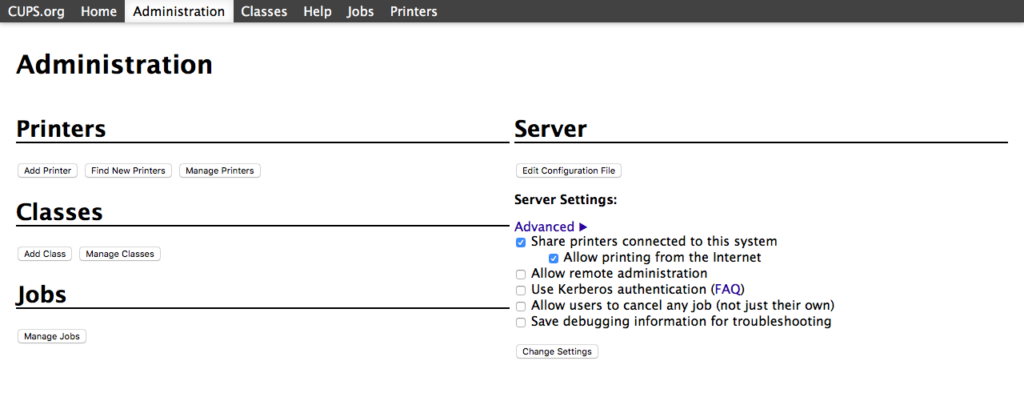 Select Add Printer, select the printer driver, and continue in the same way as in modifying the PDF printer above. If CUPS doesn’t have the driver, you will need to get it from the printer manufacturer.

