And in fact, it turned out I couldn’t discern much difference between the fields of view of the HD and HD2.
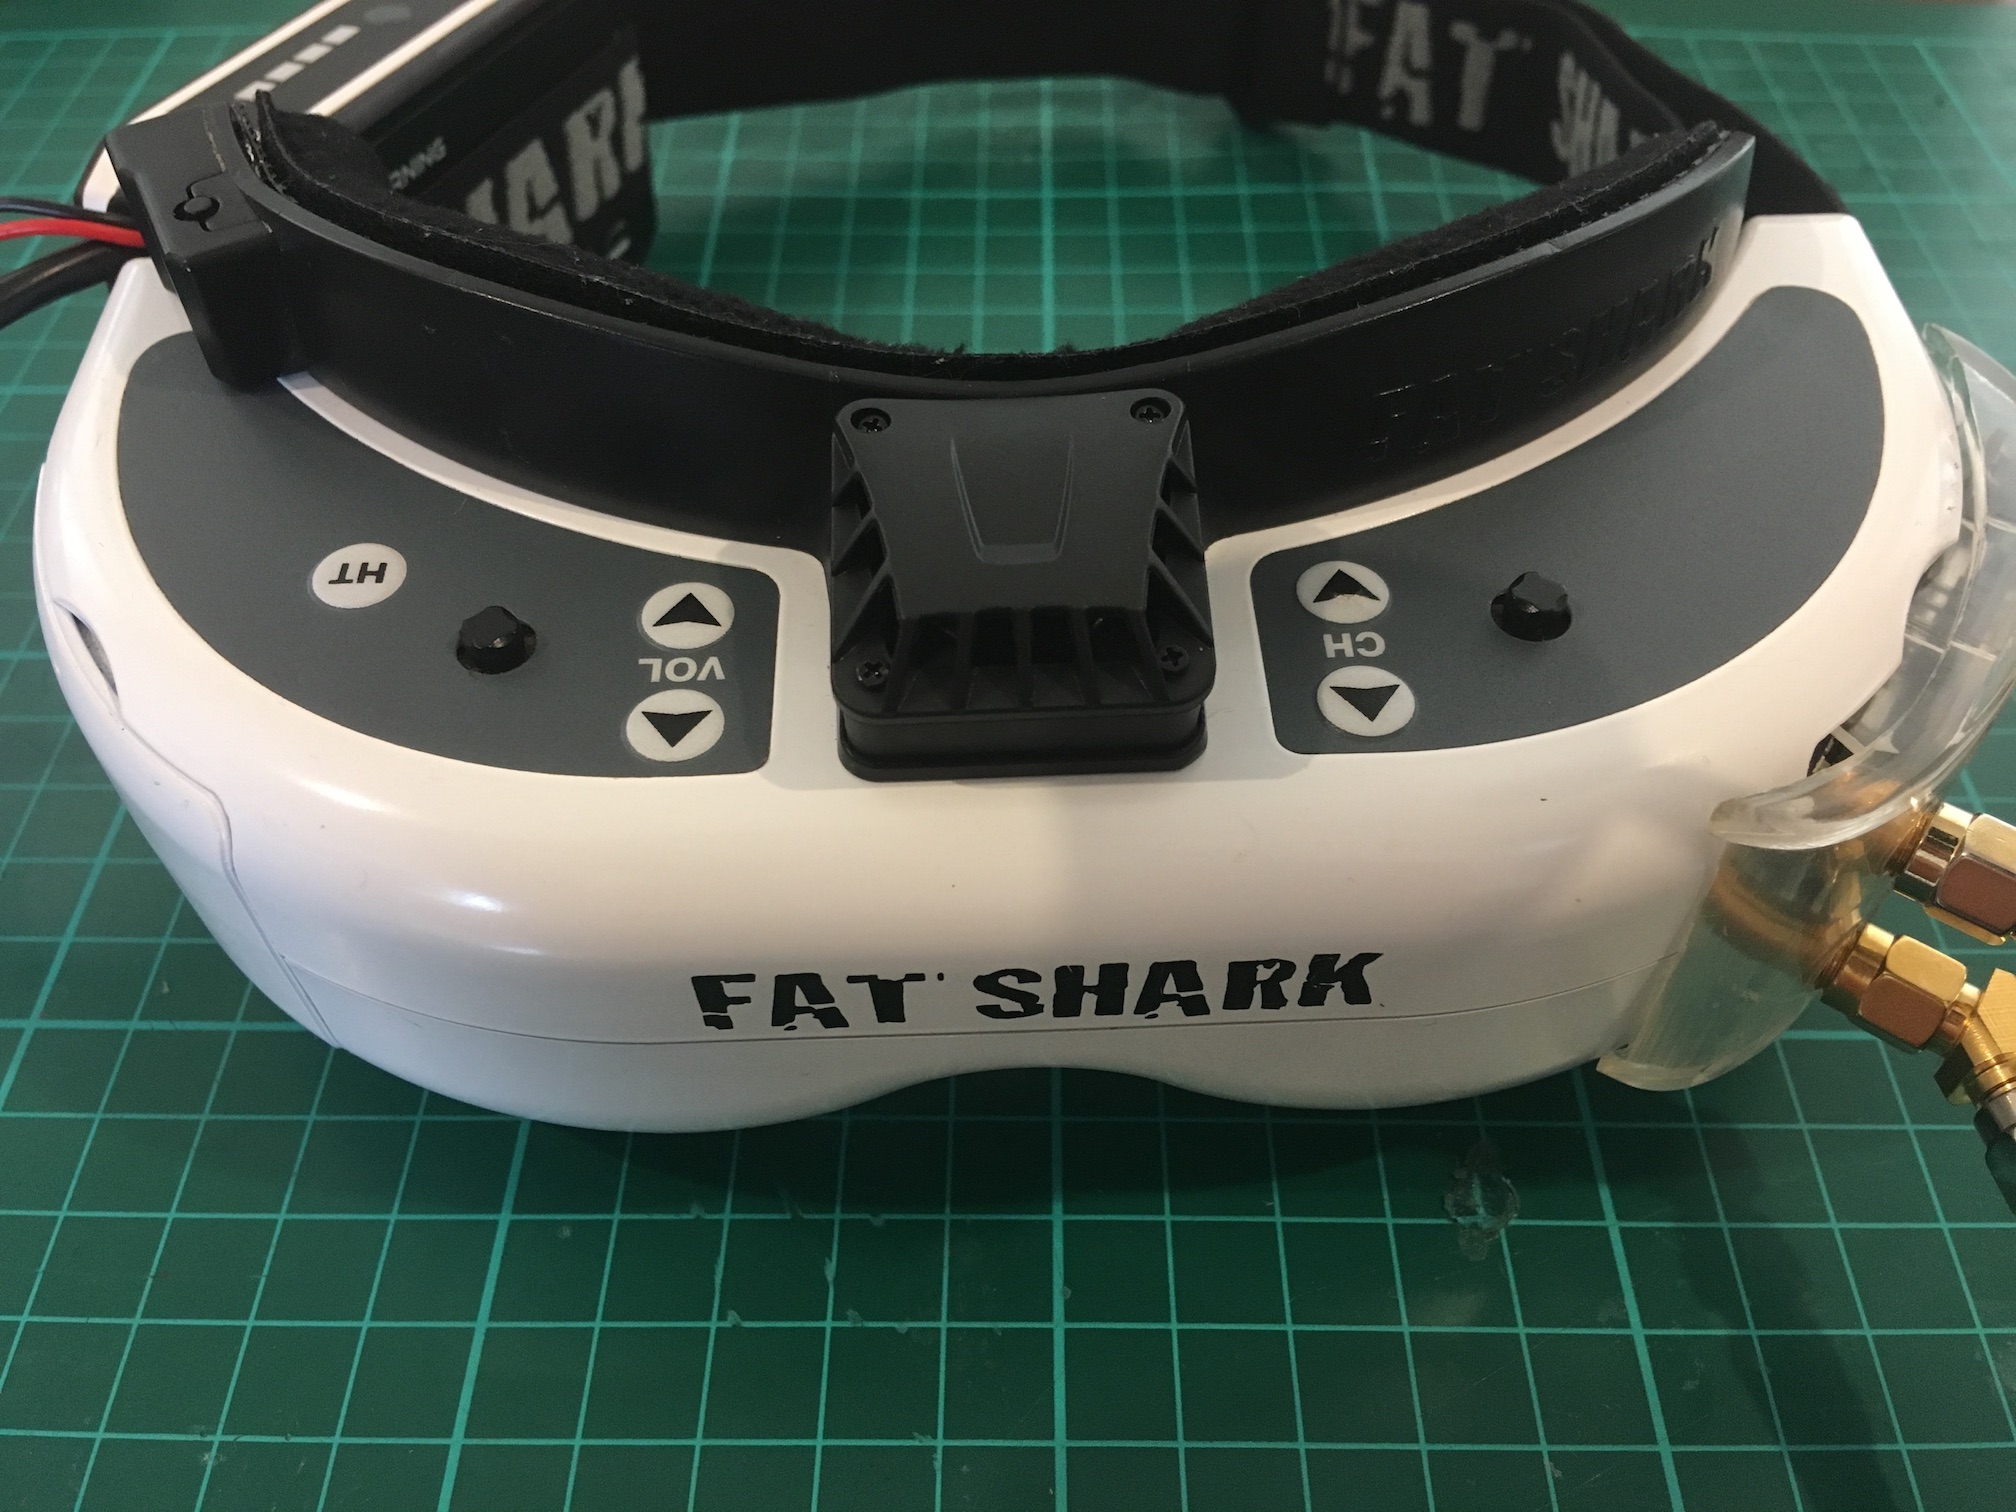
Although the unit was well-cared for, there are some things I wanted to change:
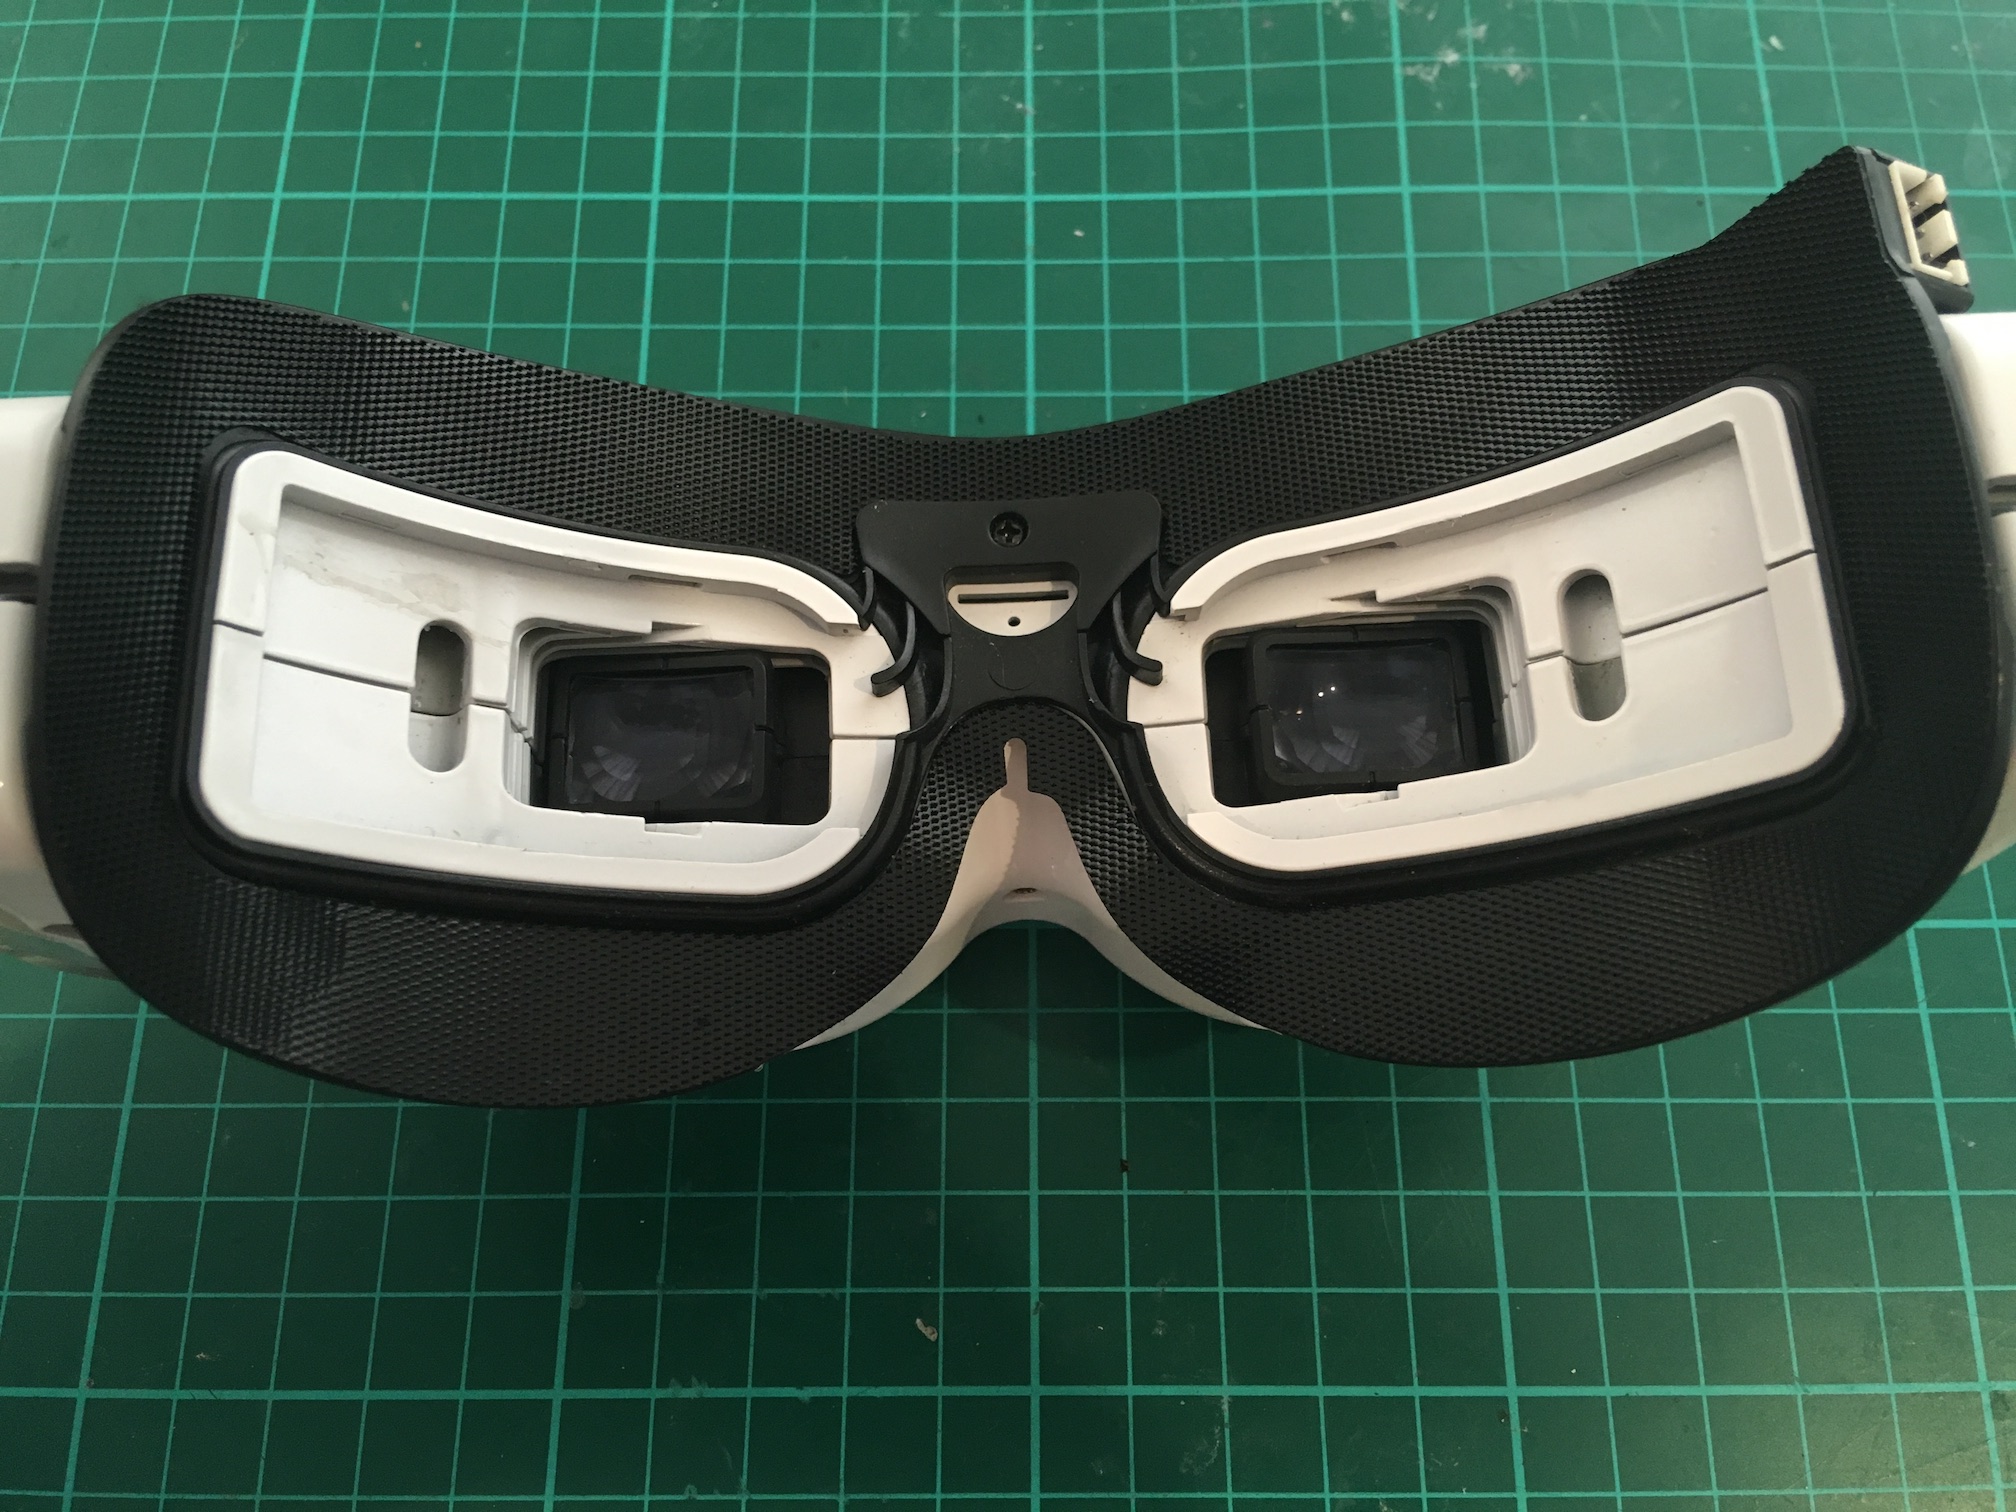
- The foam is worn already and is a bit thick for my liking.
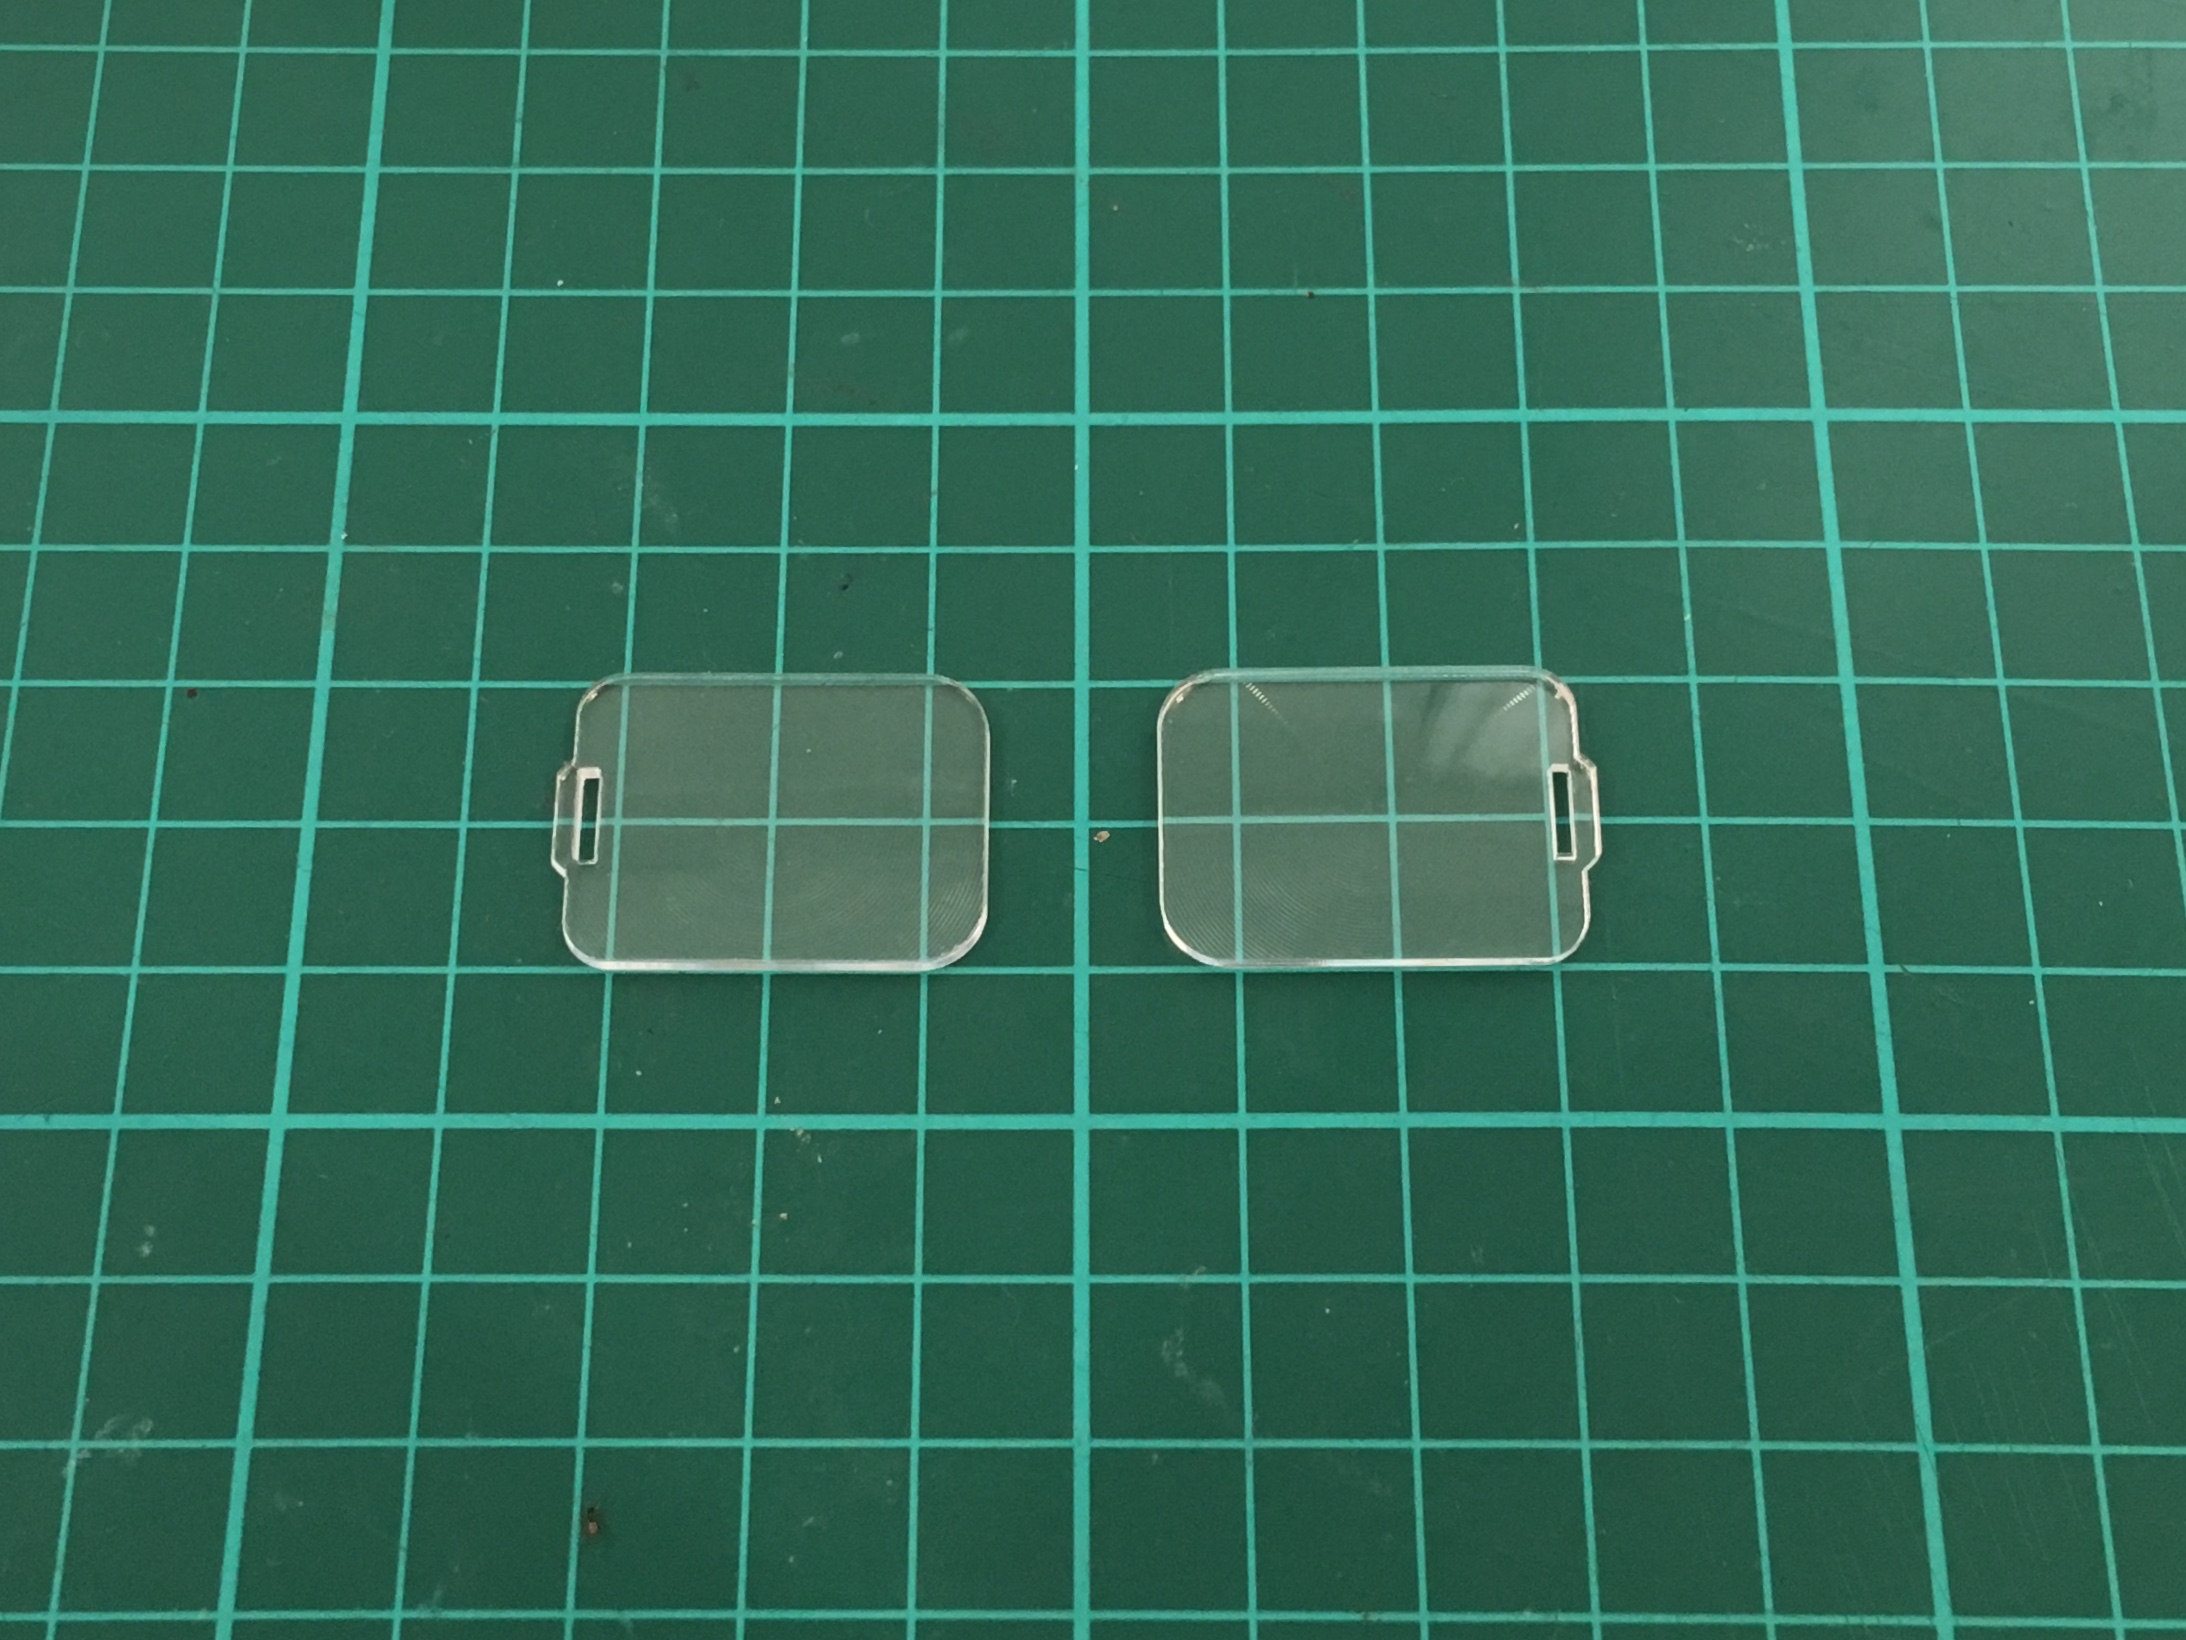
- Fatshark optics are designed so that the screen appear to be far away. So they look blurry to me without contact lenses.
- The battery is doesn’t last long anymore. Even though I can use 2S LiPo batteries, I don’t really like their ghetto look and to be honest, I’m always afraid they’ll catch fire or something.
- The patch antenna is facing to the side instead of to the front. In addition, it’s actually an RP-SMA antenna with just a pin inserted into the connector.
- Too many stickers! :P
Parts
For this project, I used the following:
- Replacement Faceplate Leather Fabric Pad KIT For Fatshark FPV Goggles
- Aomway Commander Diopter Lens Set -2.00/-4.00 Nearsighted Shortsighted Lenses for Fatshark Skyzone FPV Goggles
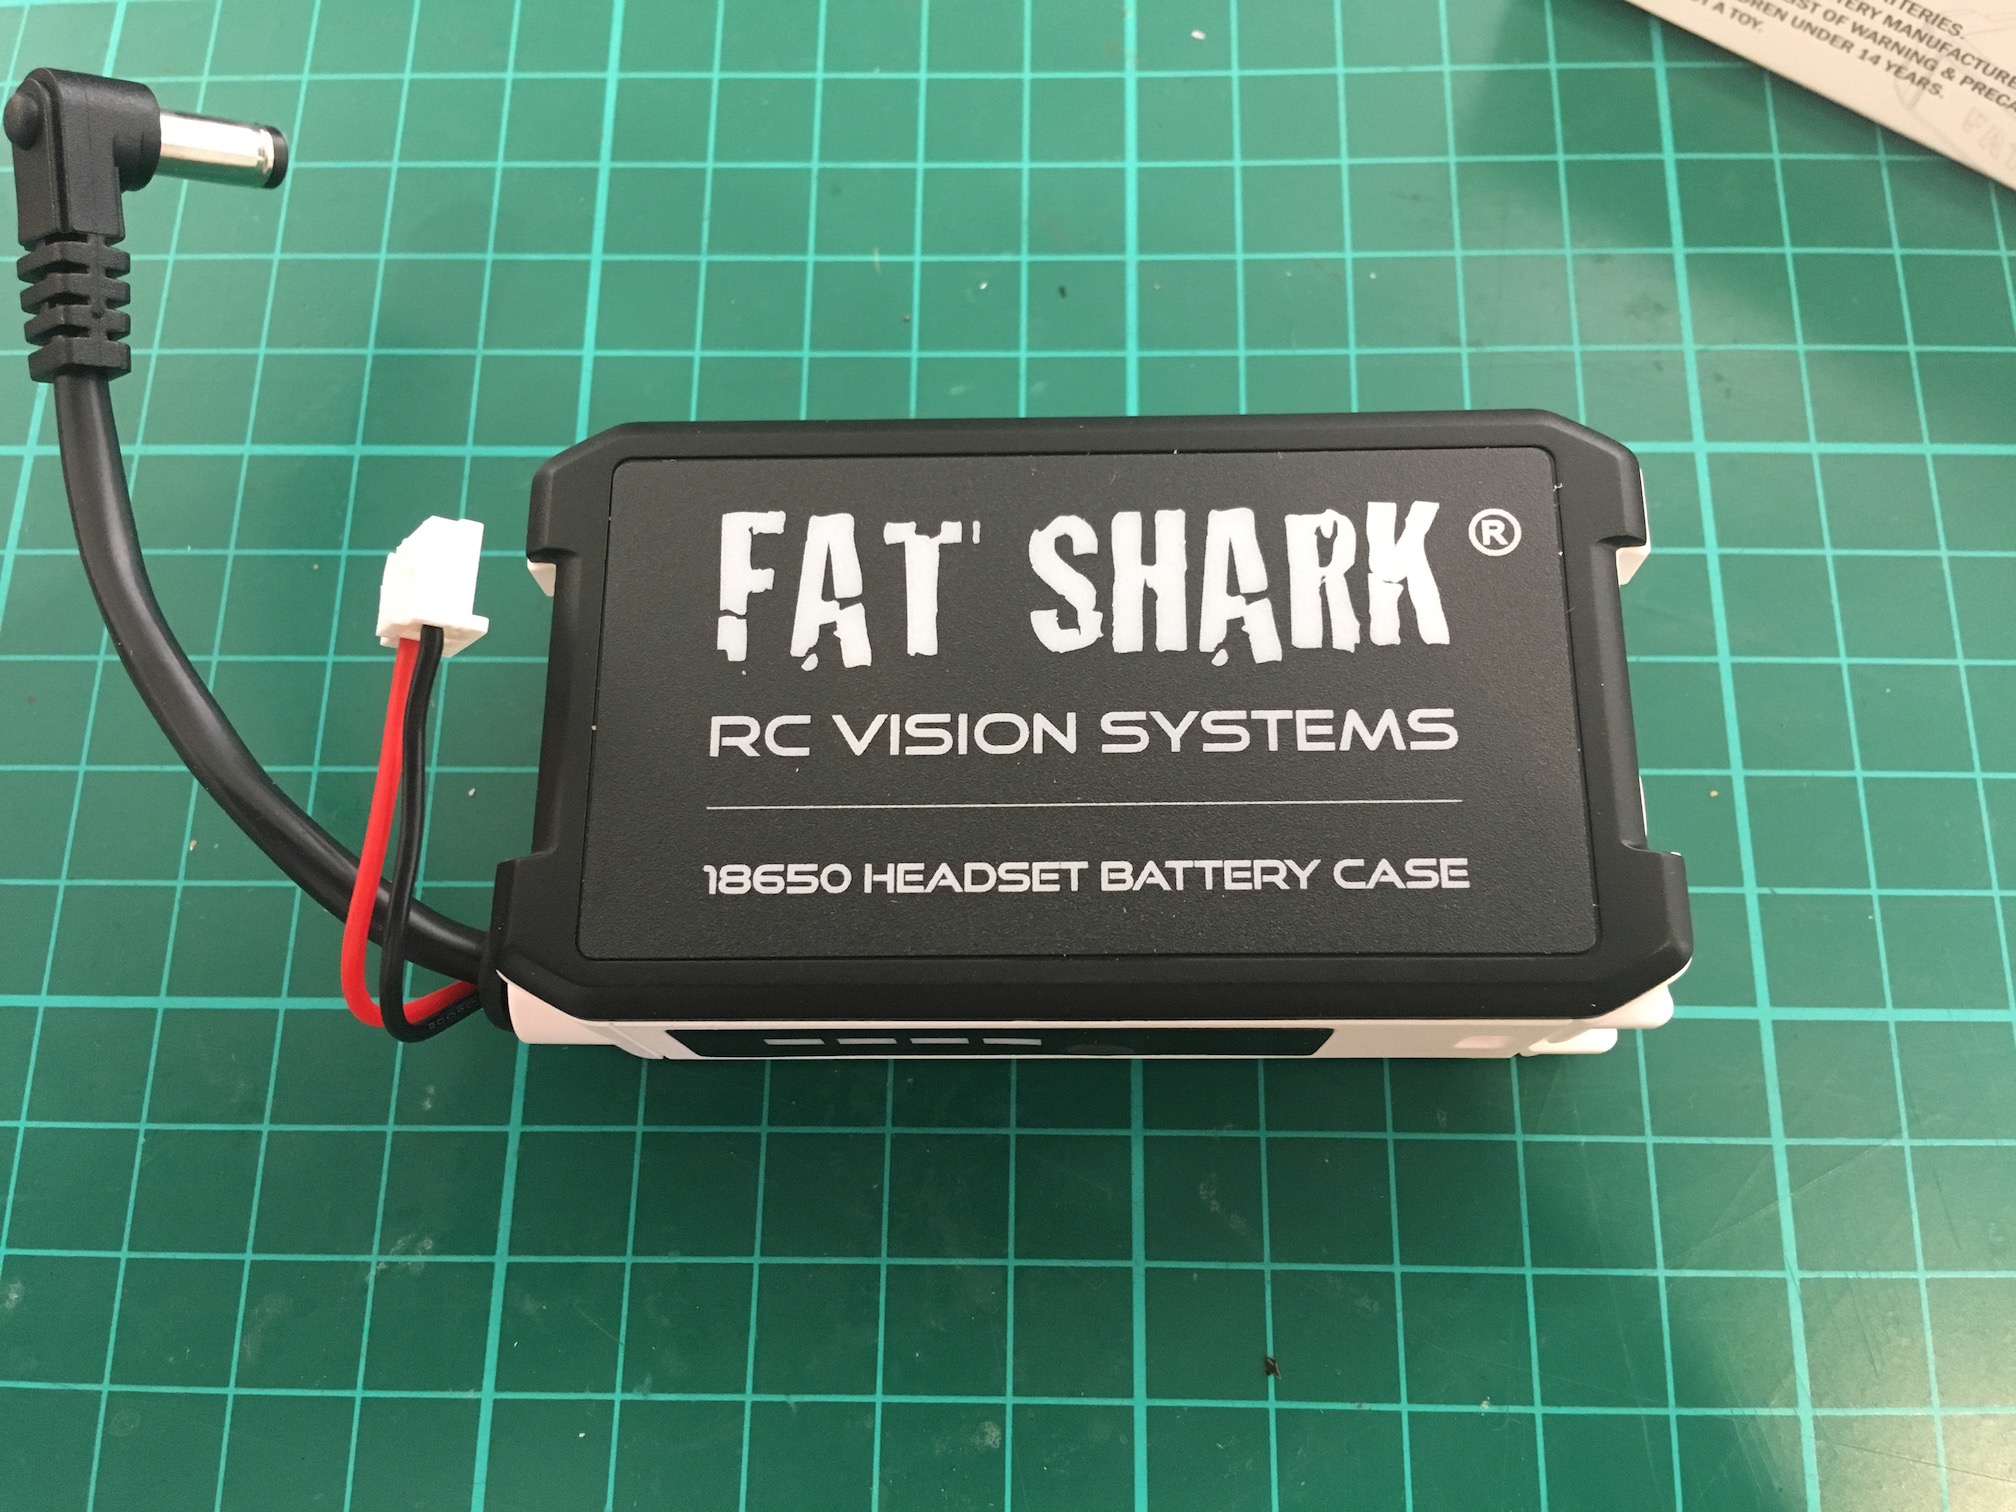
- Fatshark 7.4V 18650 Li-ion Cell Battery Case DC5.5*2.5 For FPV Goggles
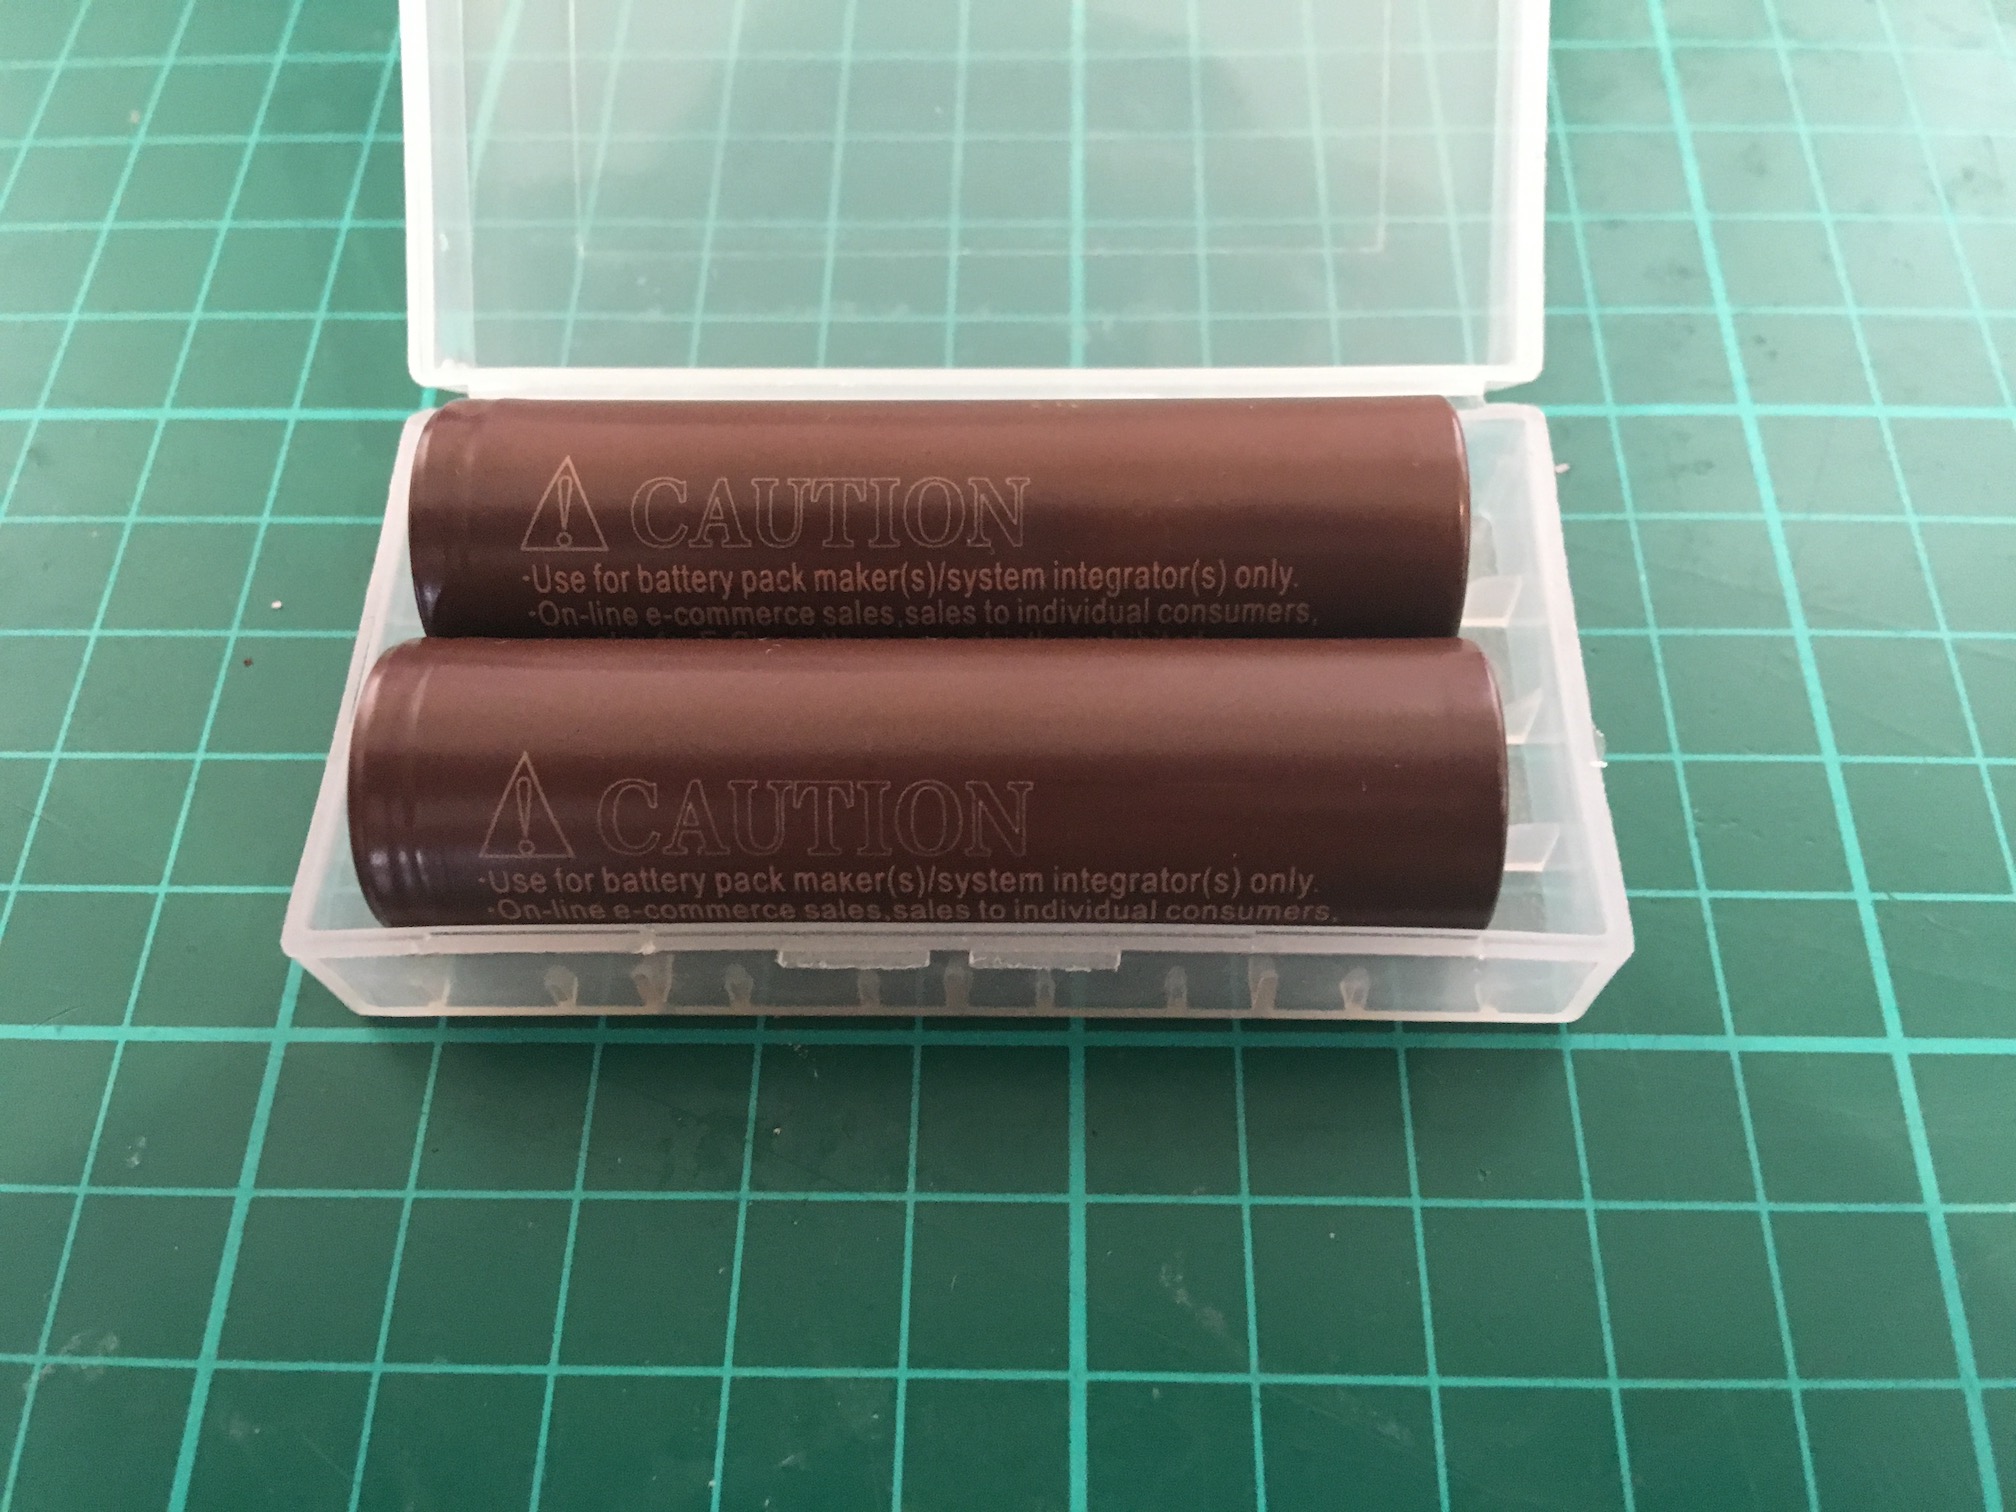
- Keeppower LG Chem INR 18650 HG2 3.7v 3000mah Li-ion Battery
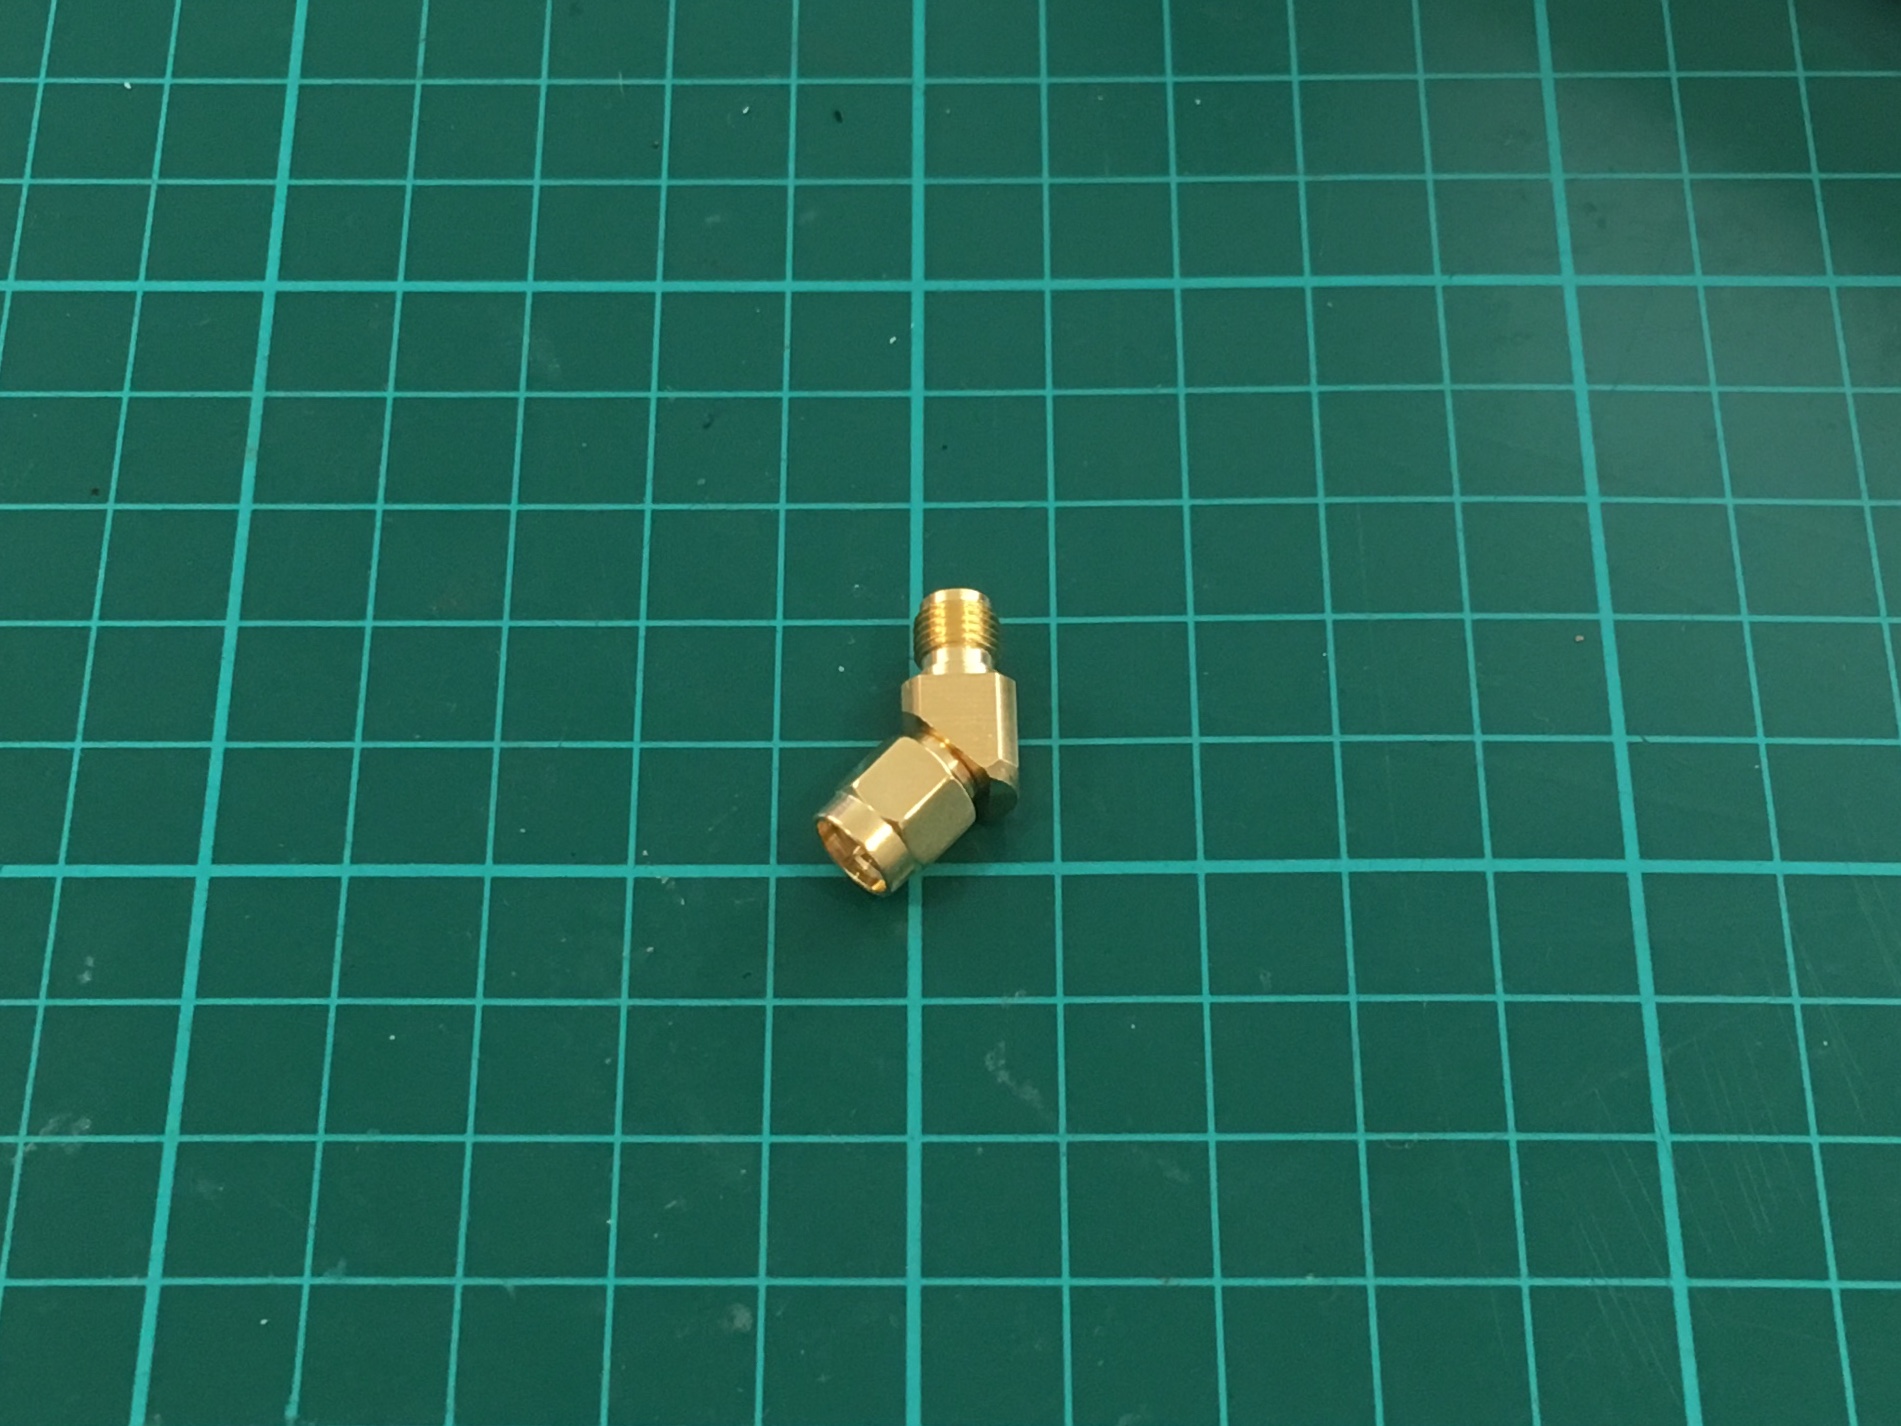
- 45/135 Degree SMA Male to RP-SMA Female Antenna Adapter
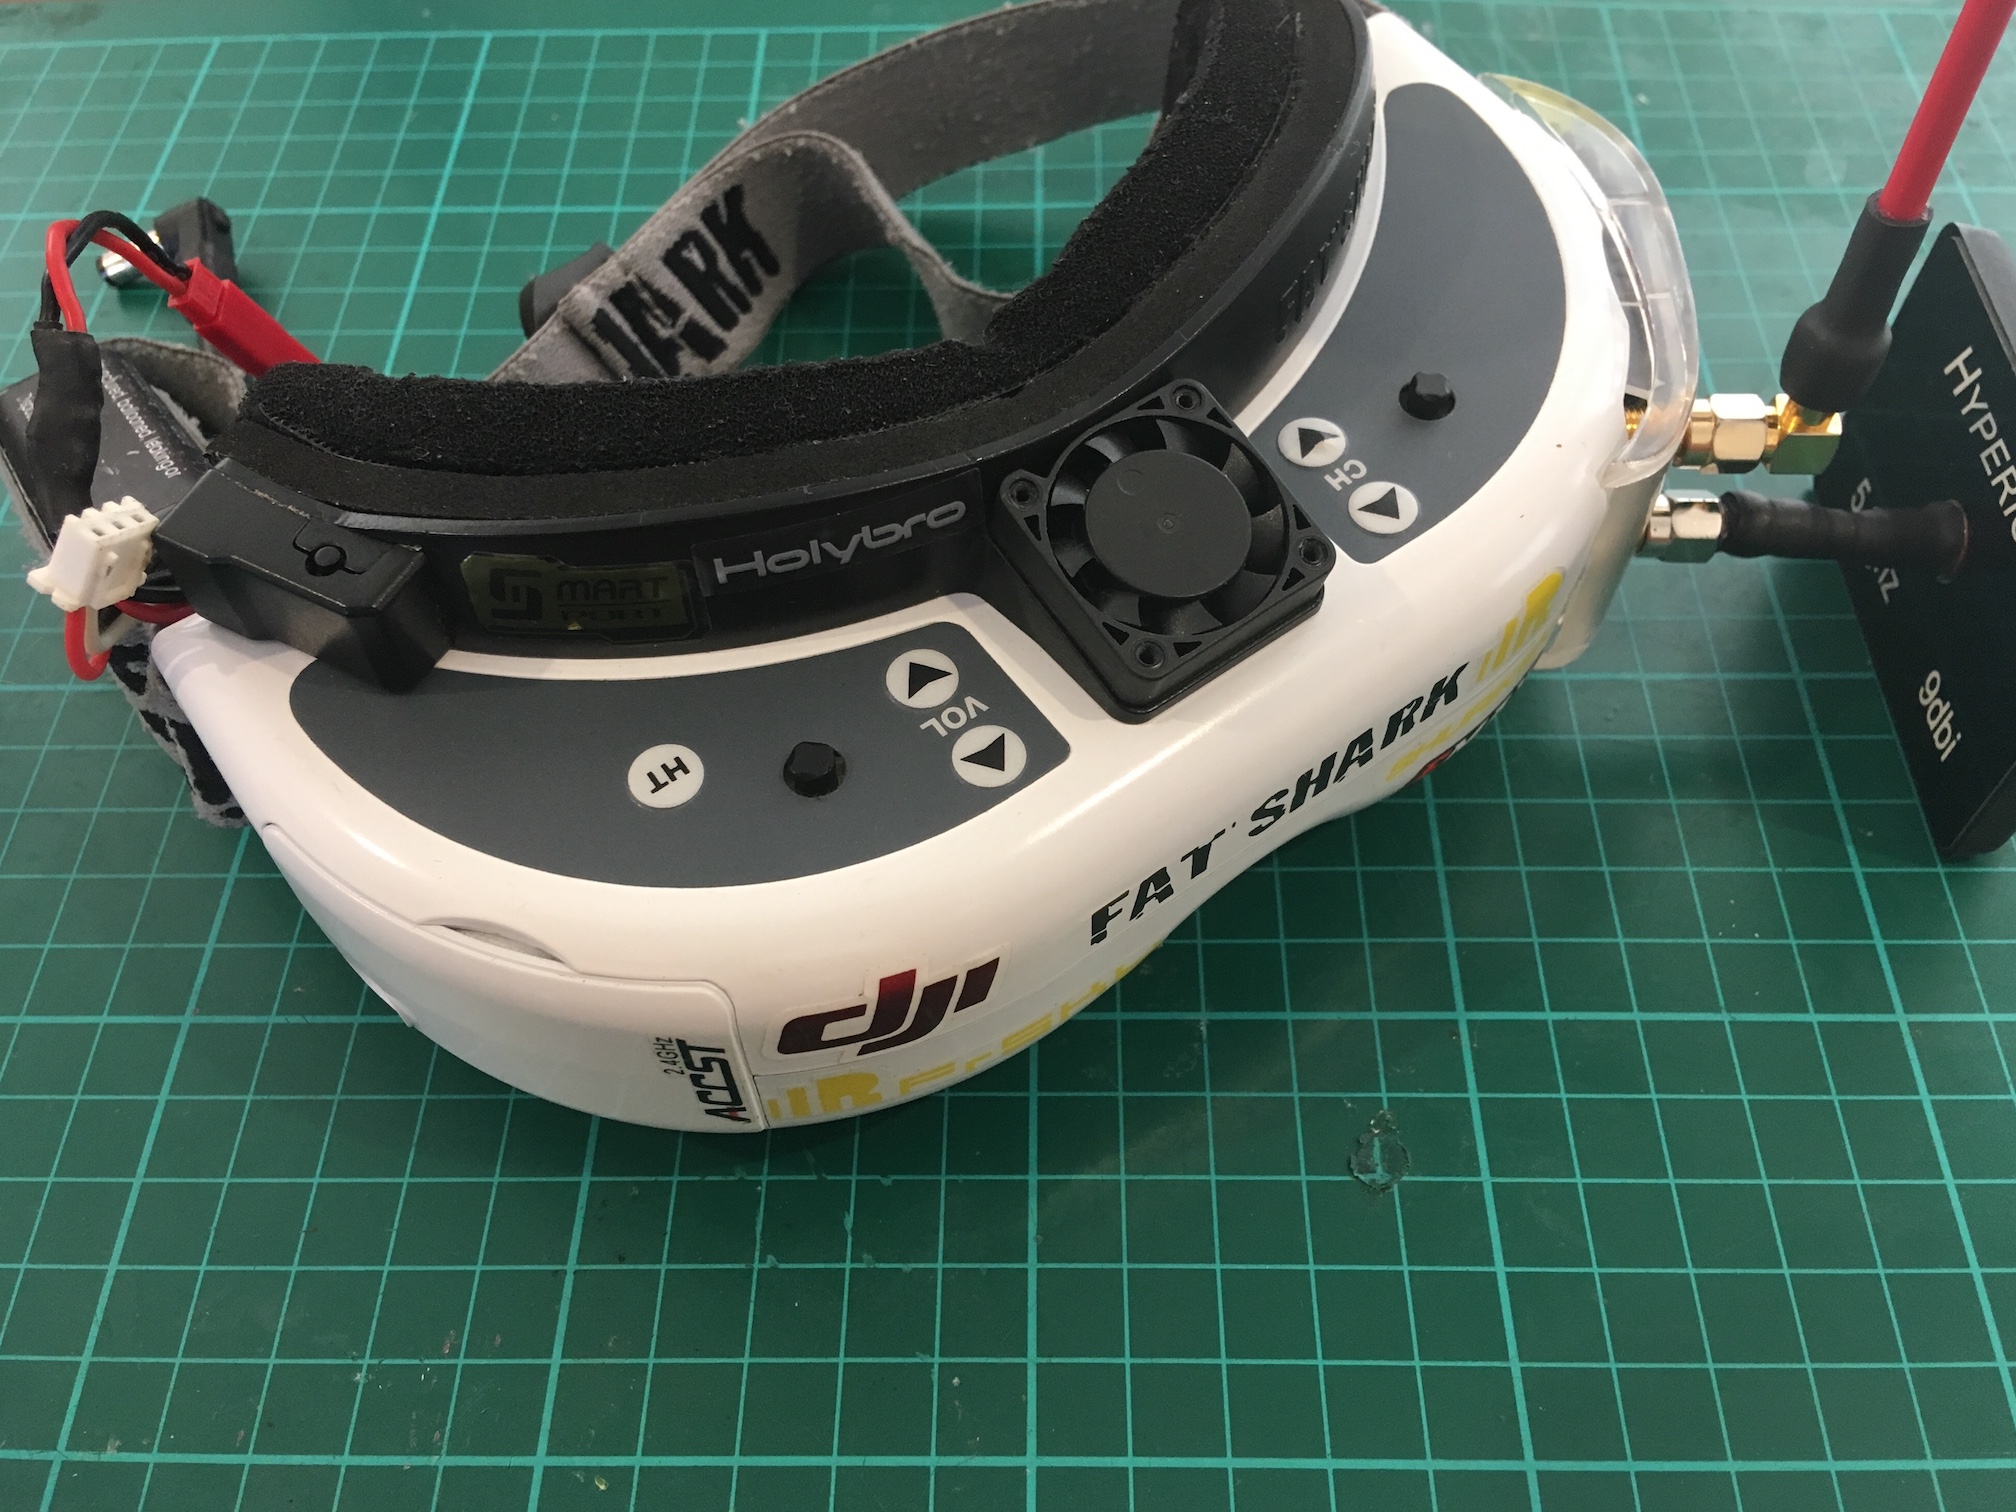
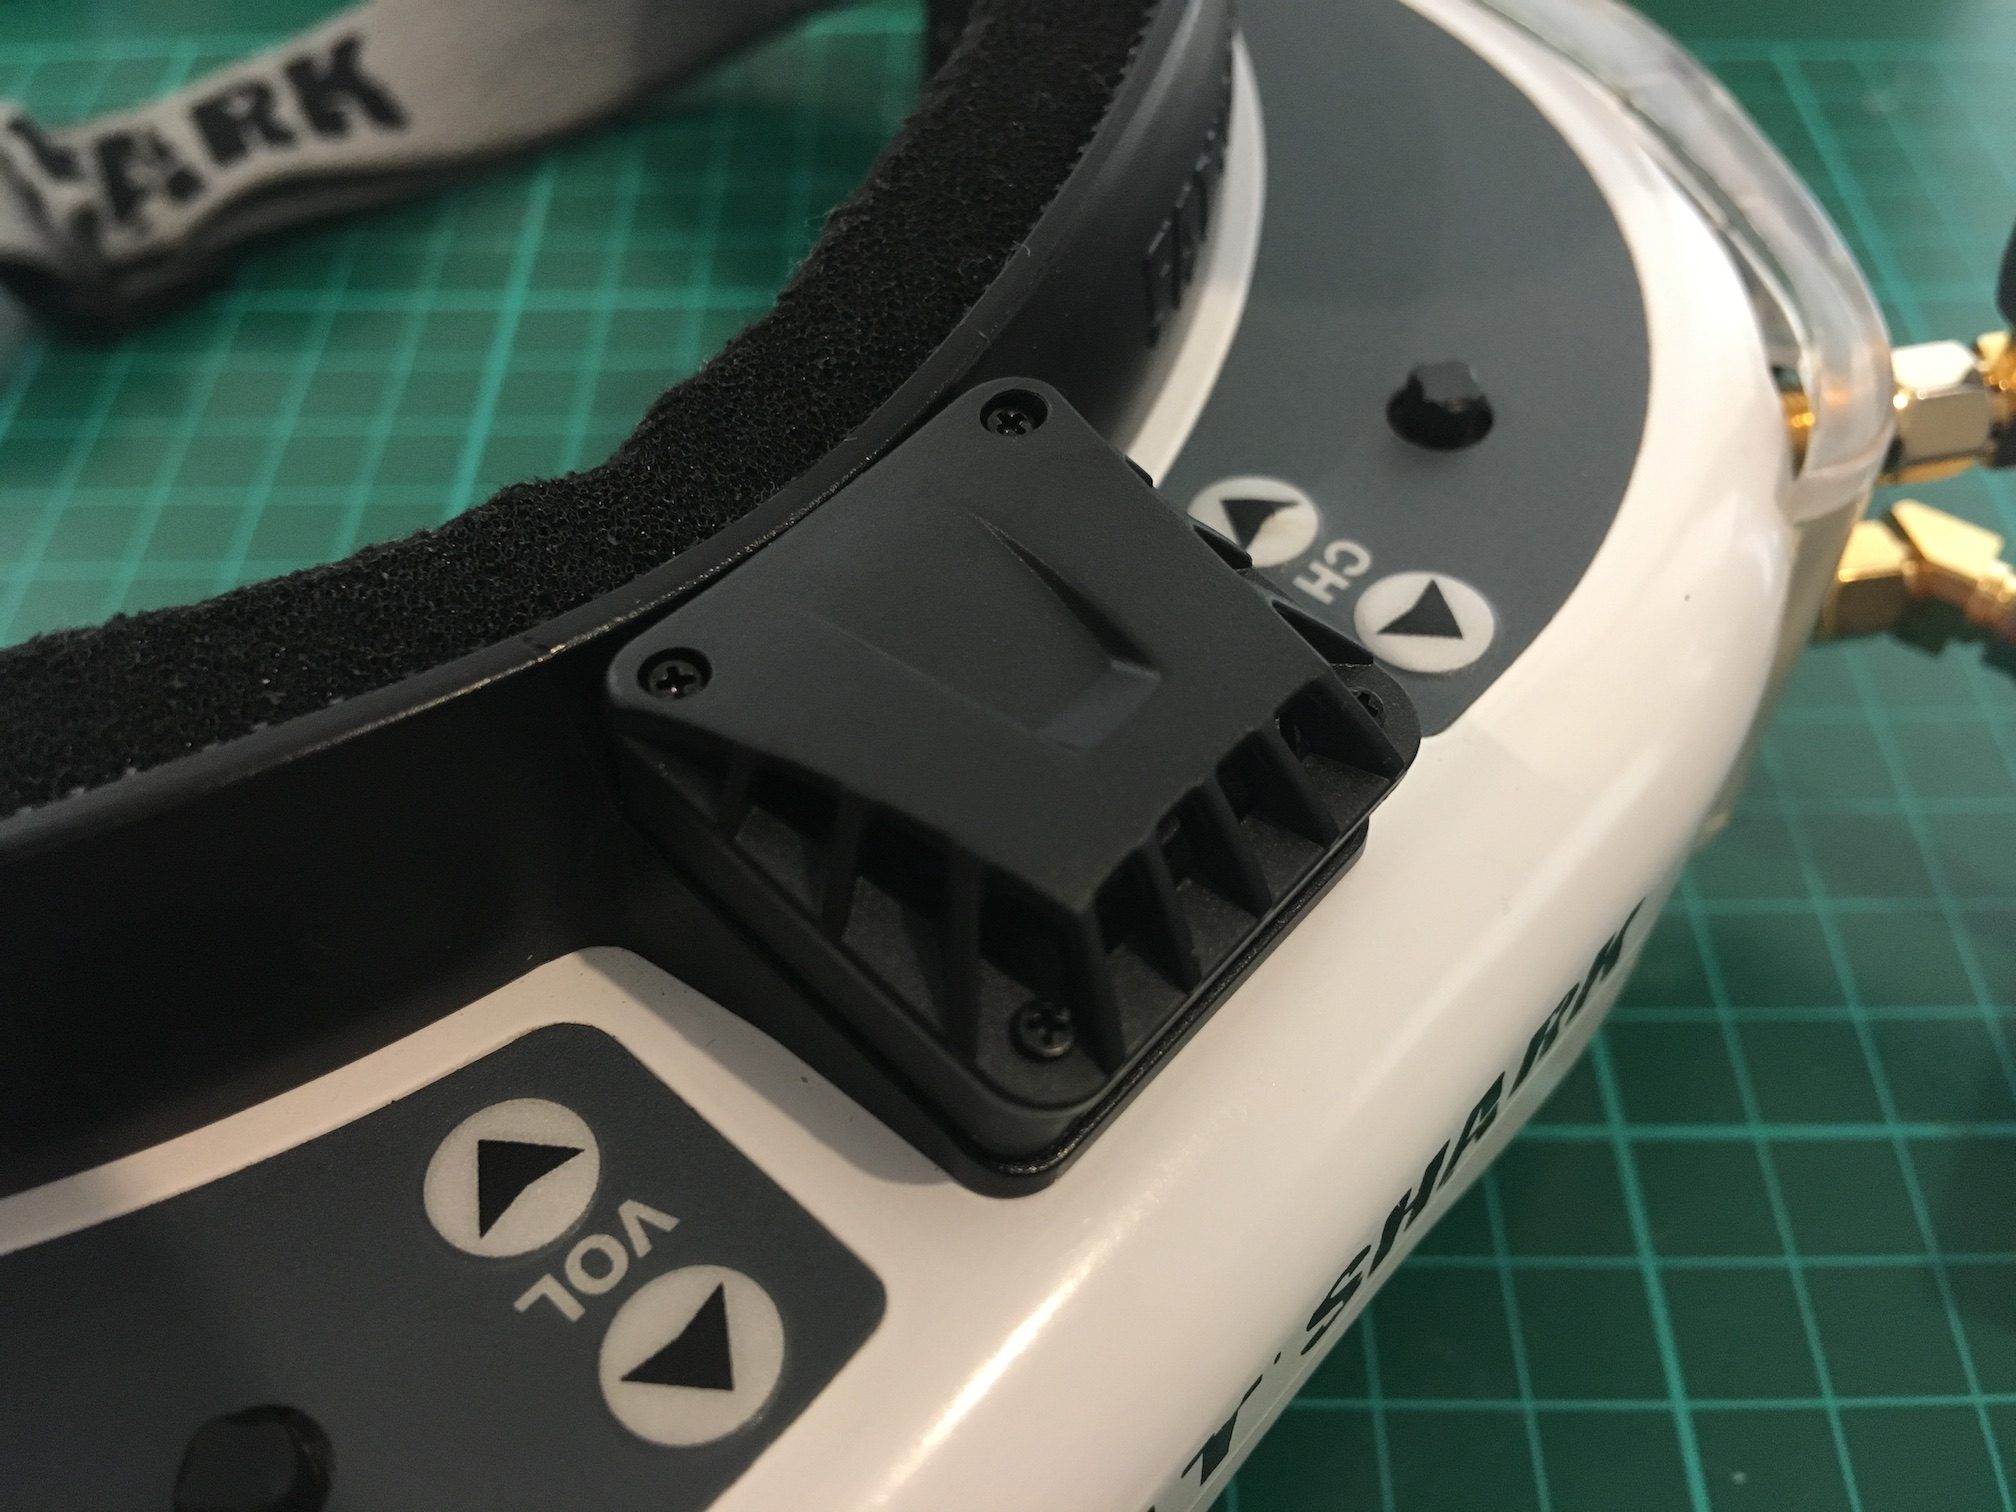
- Fatshark Fan Cover
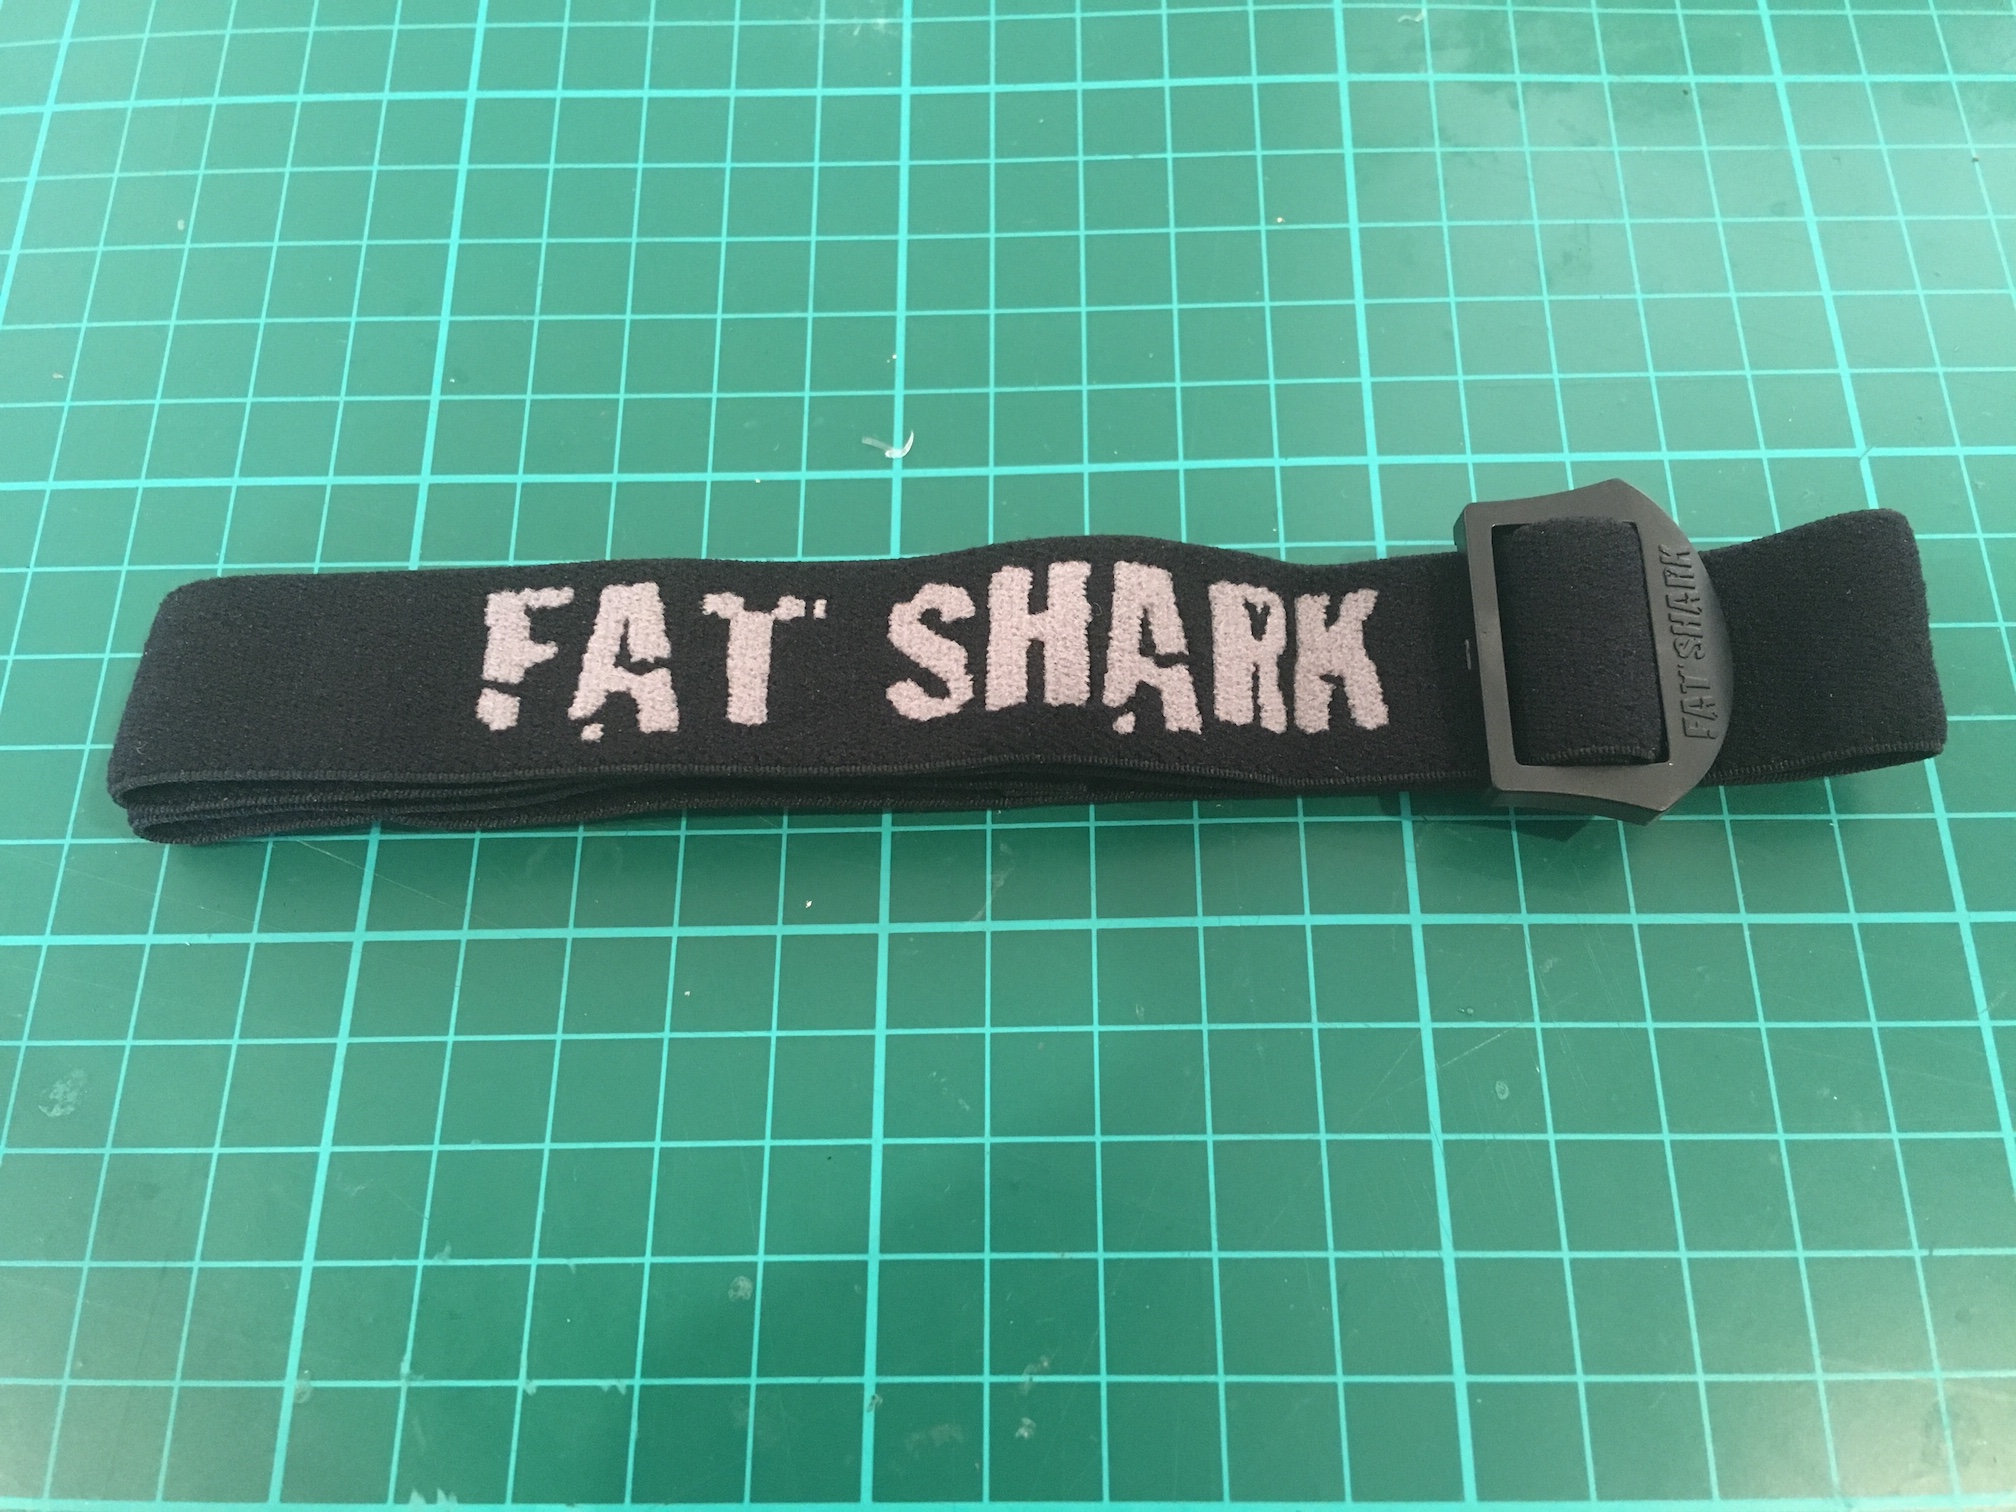
- Fatshark Strap
Procedure
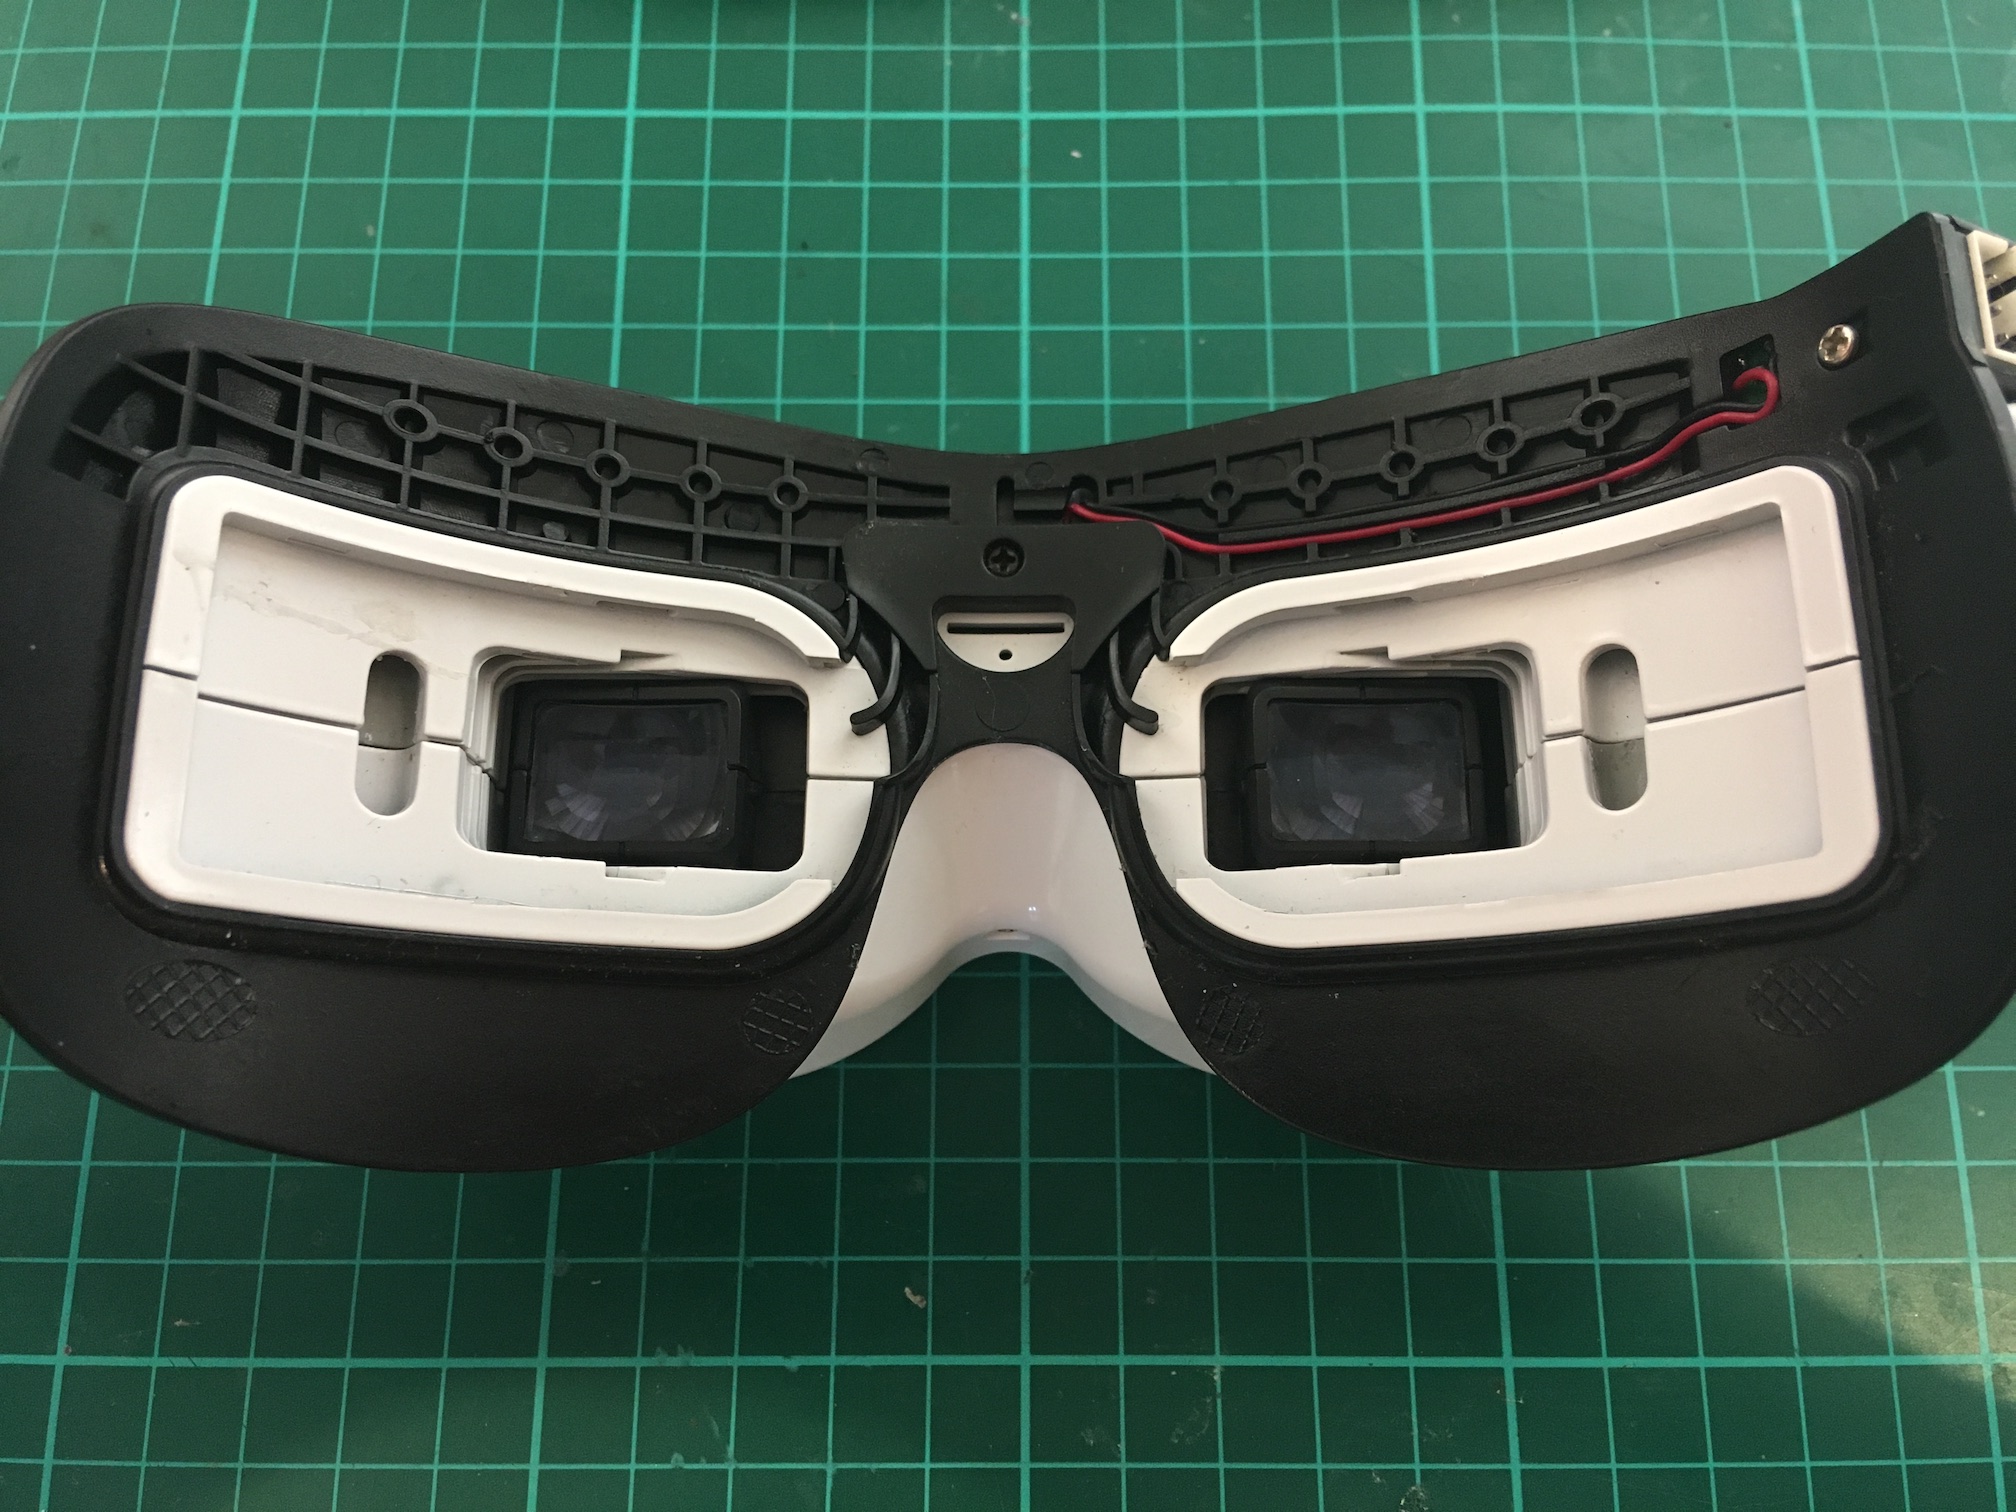
- Remove the old foam, stickers, and clean up any gummy residue
- Prepare the new velcro pad
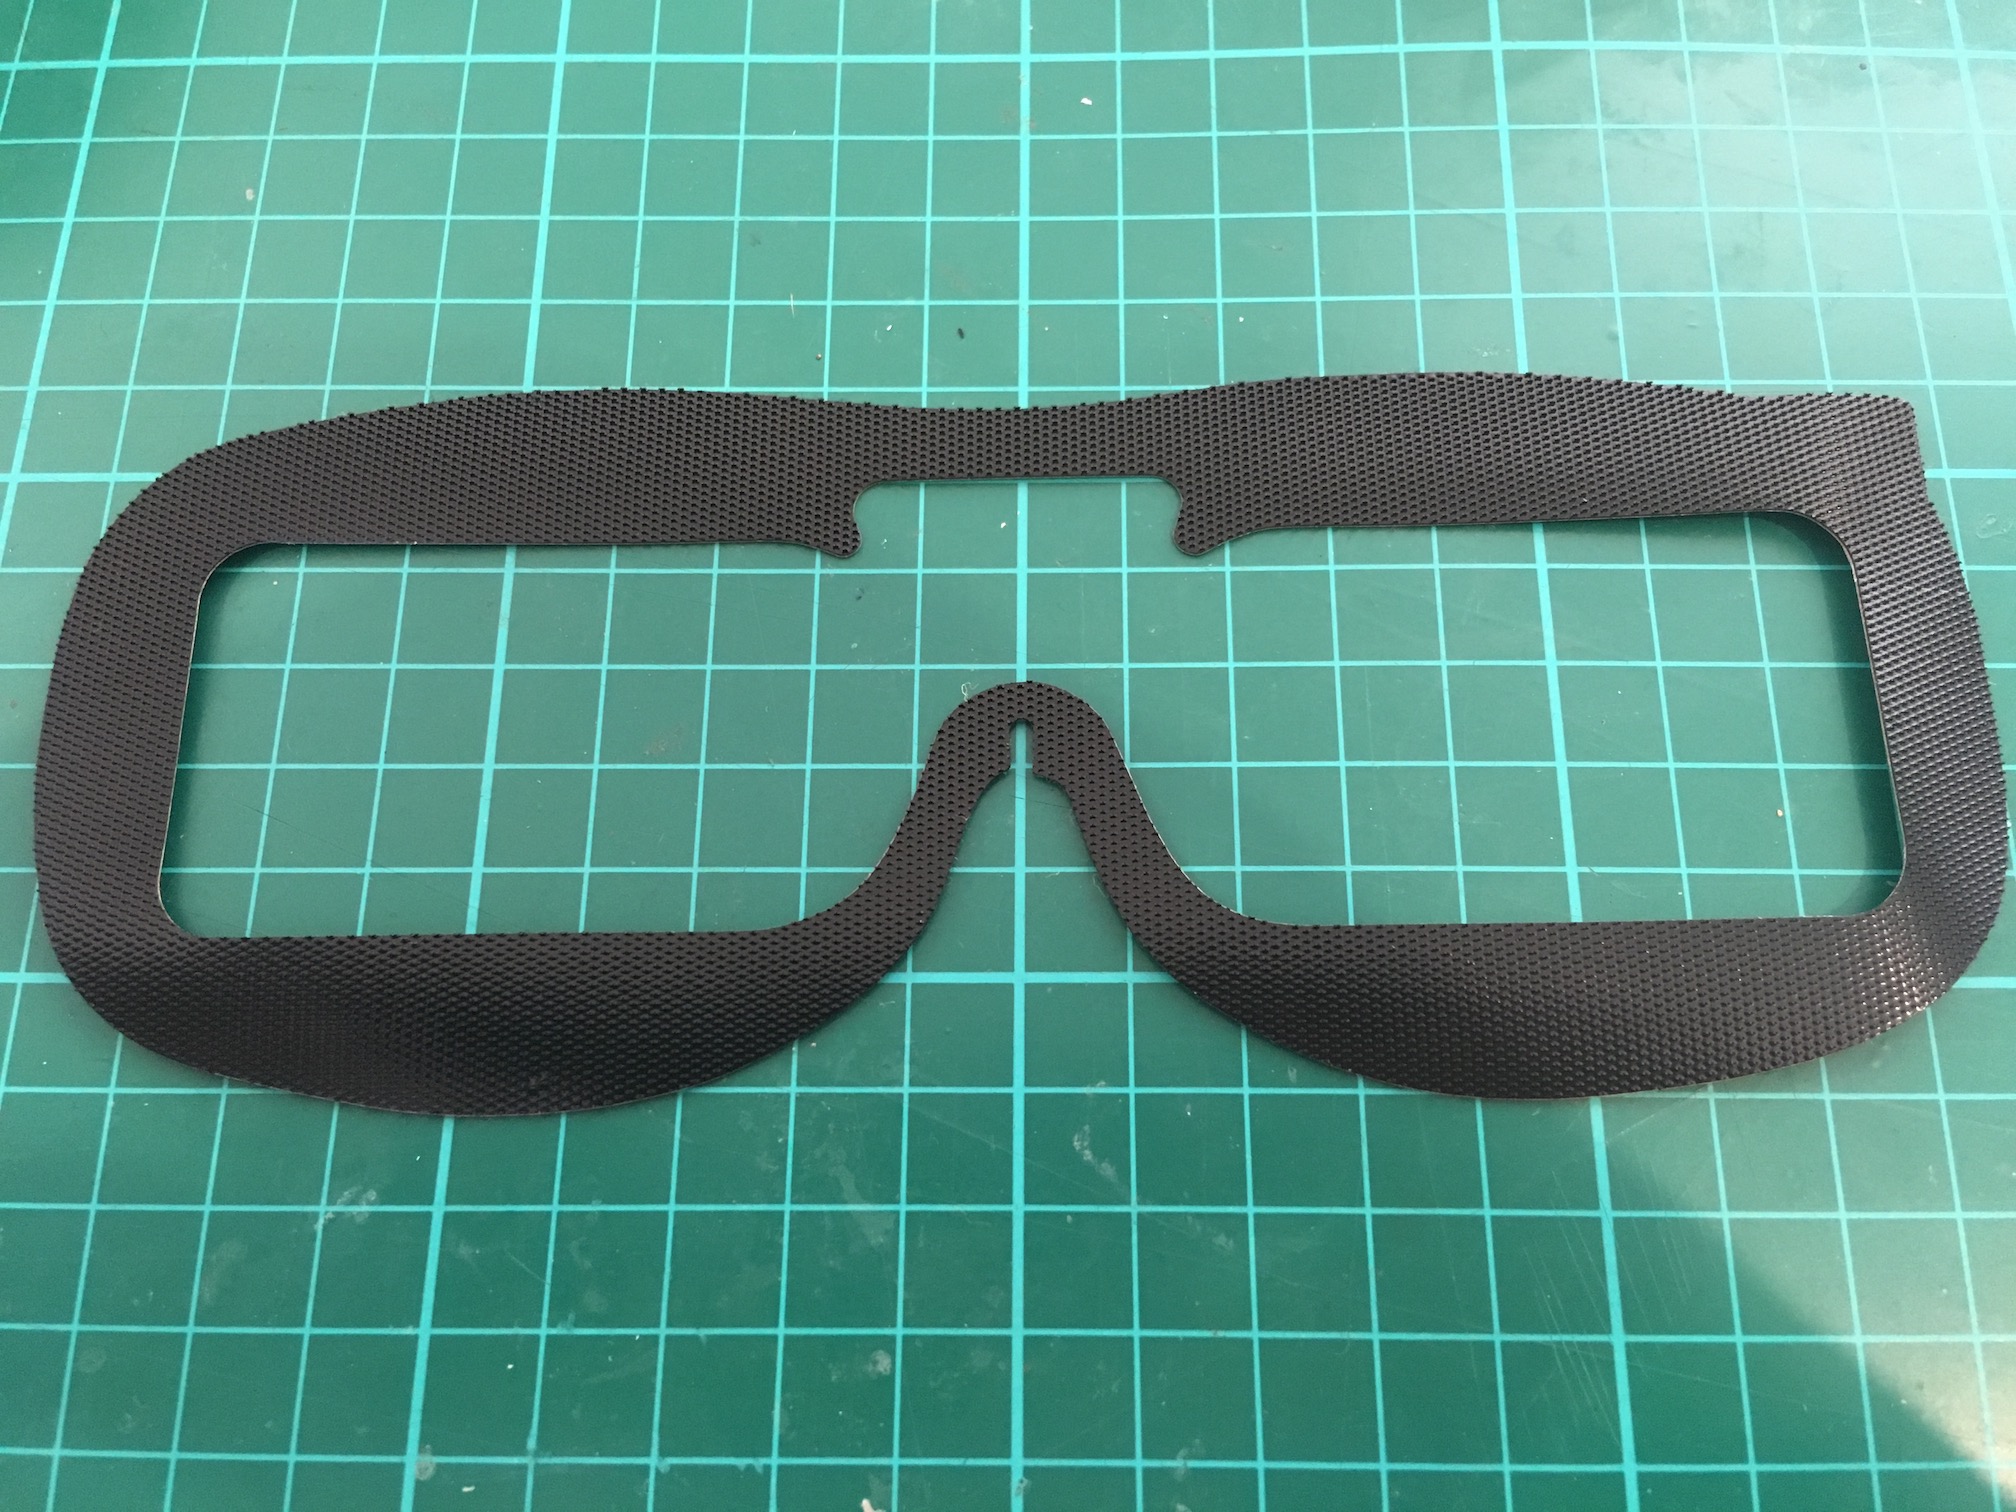
- Install the new velcro pad
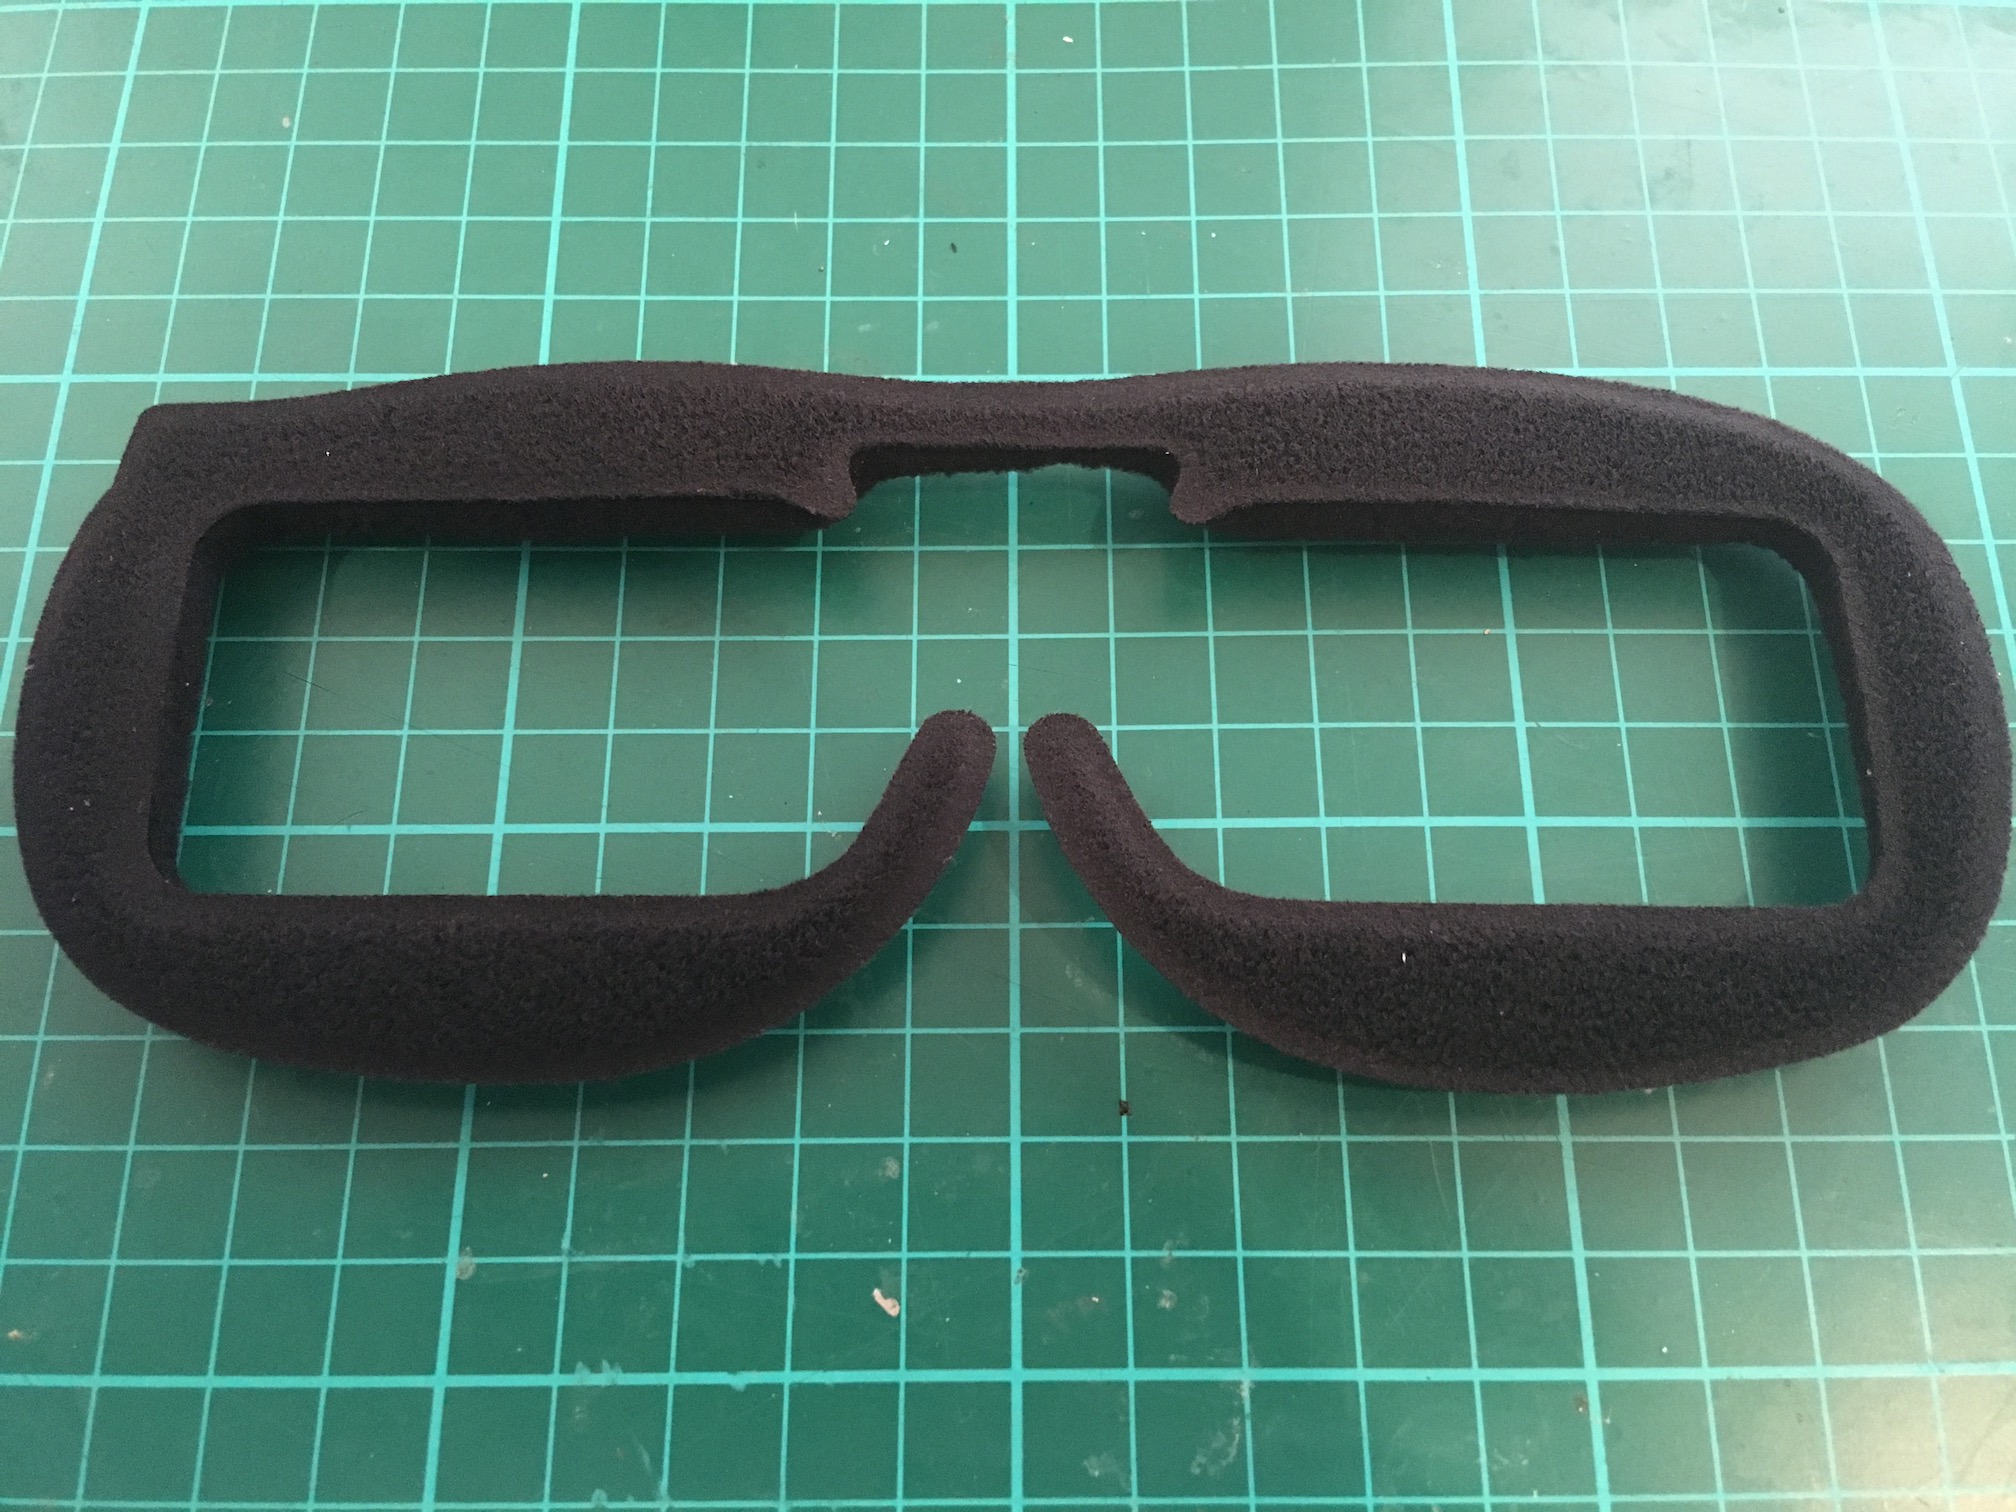
- Prepare the new foam pad. This is the version with a plush texture which I think will be more comfortable and last longer than the regular foam.
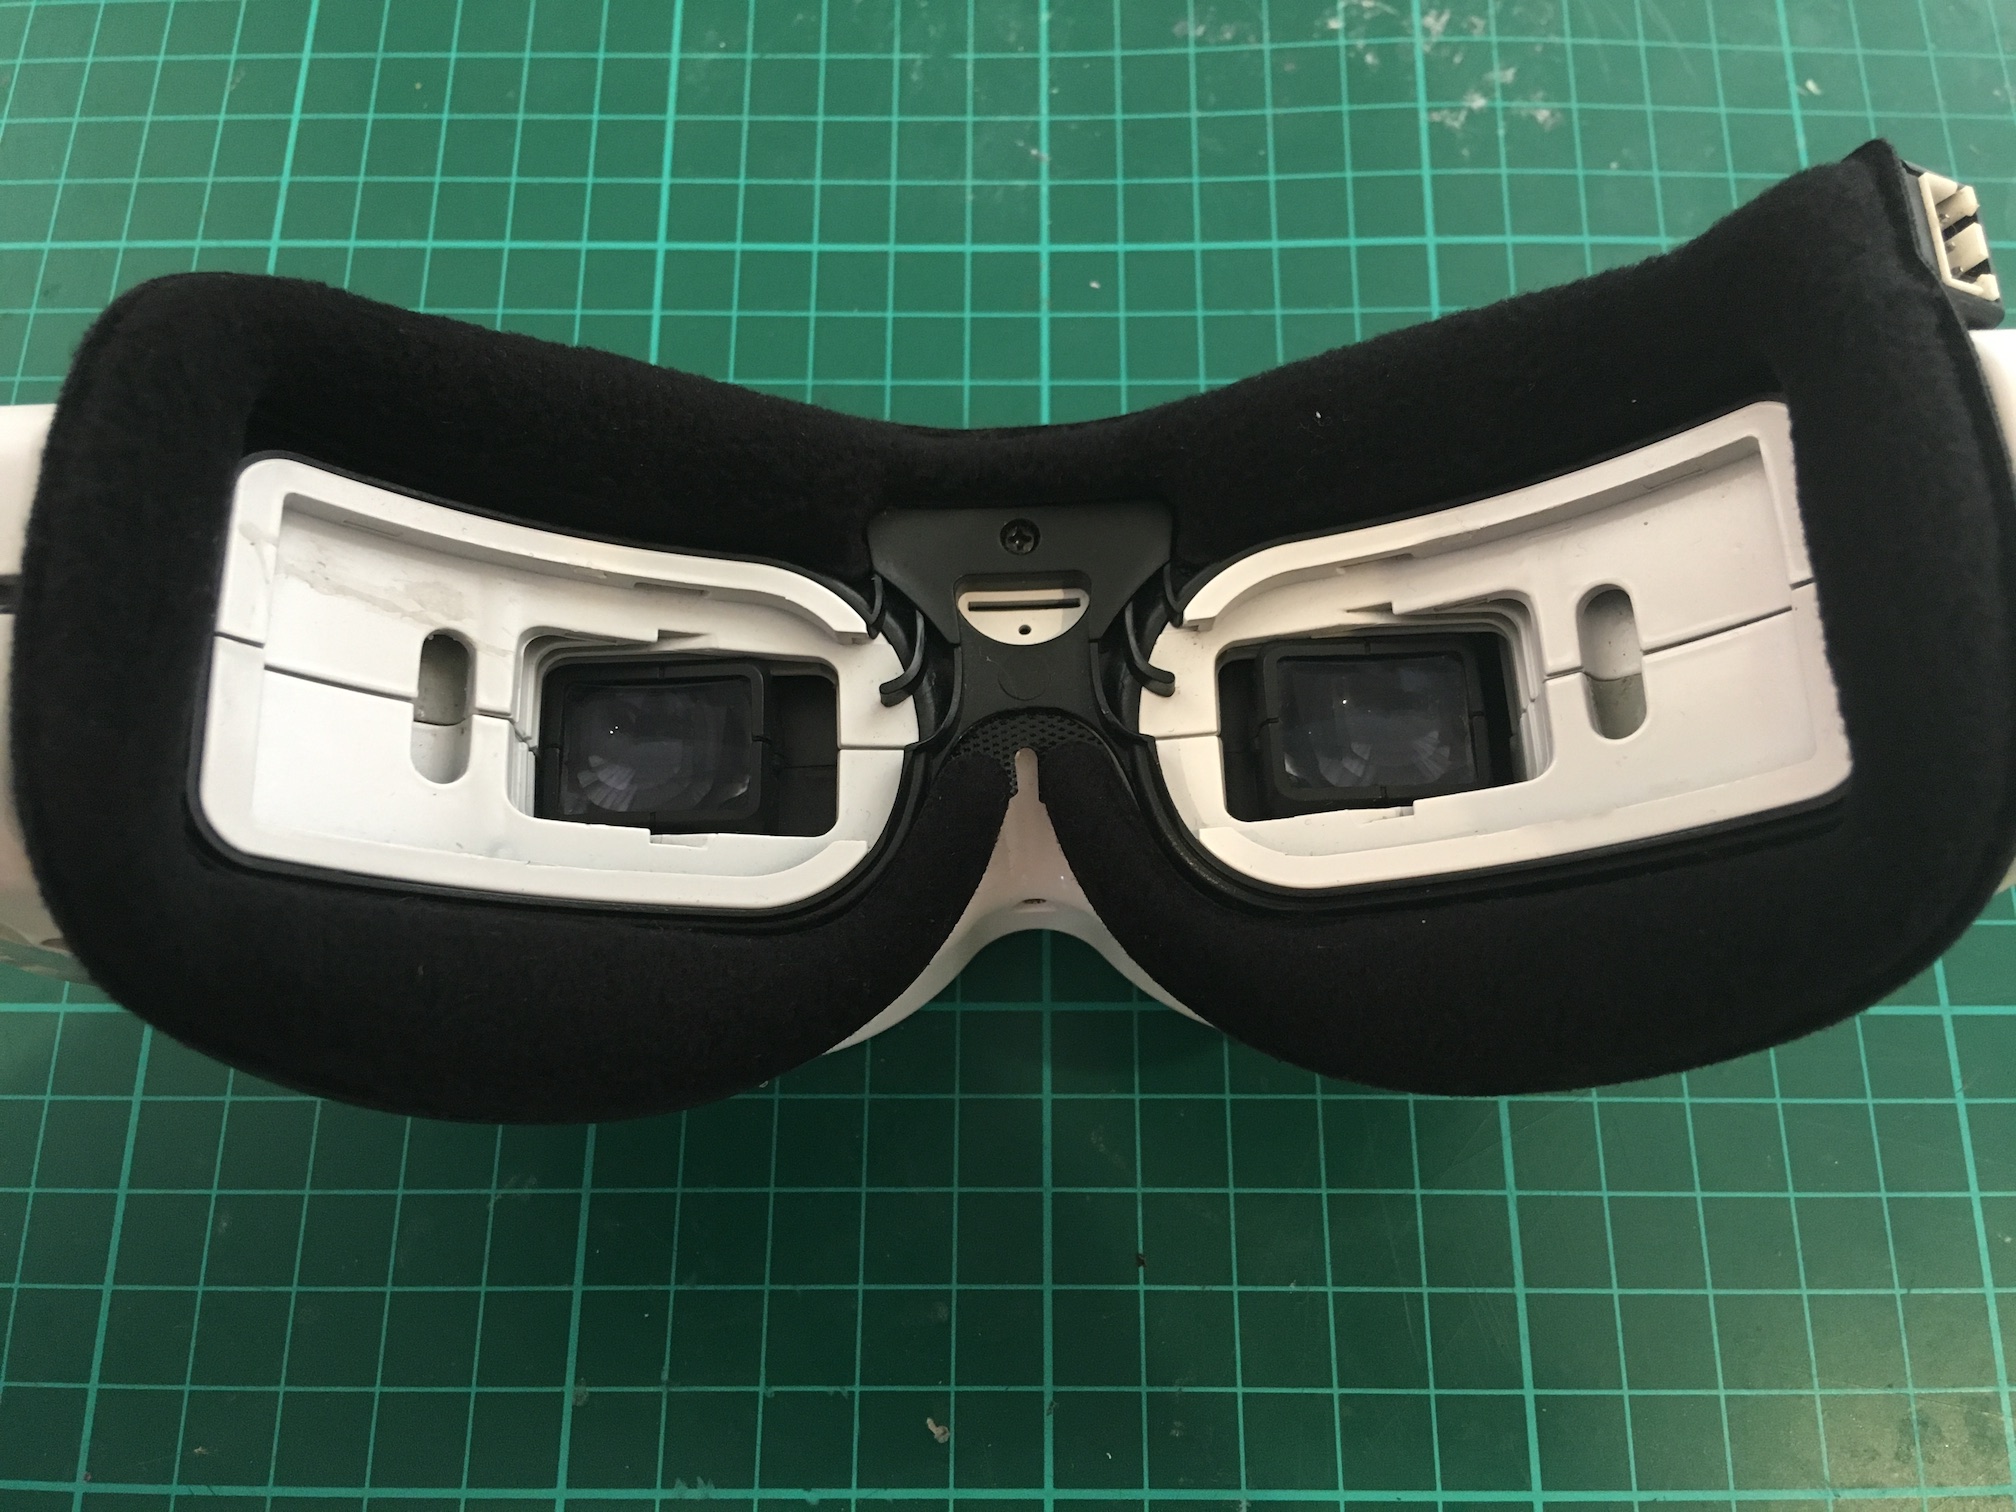
- Install the new foam pad
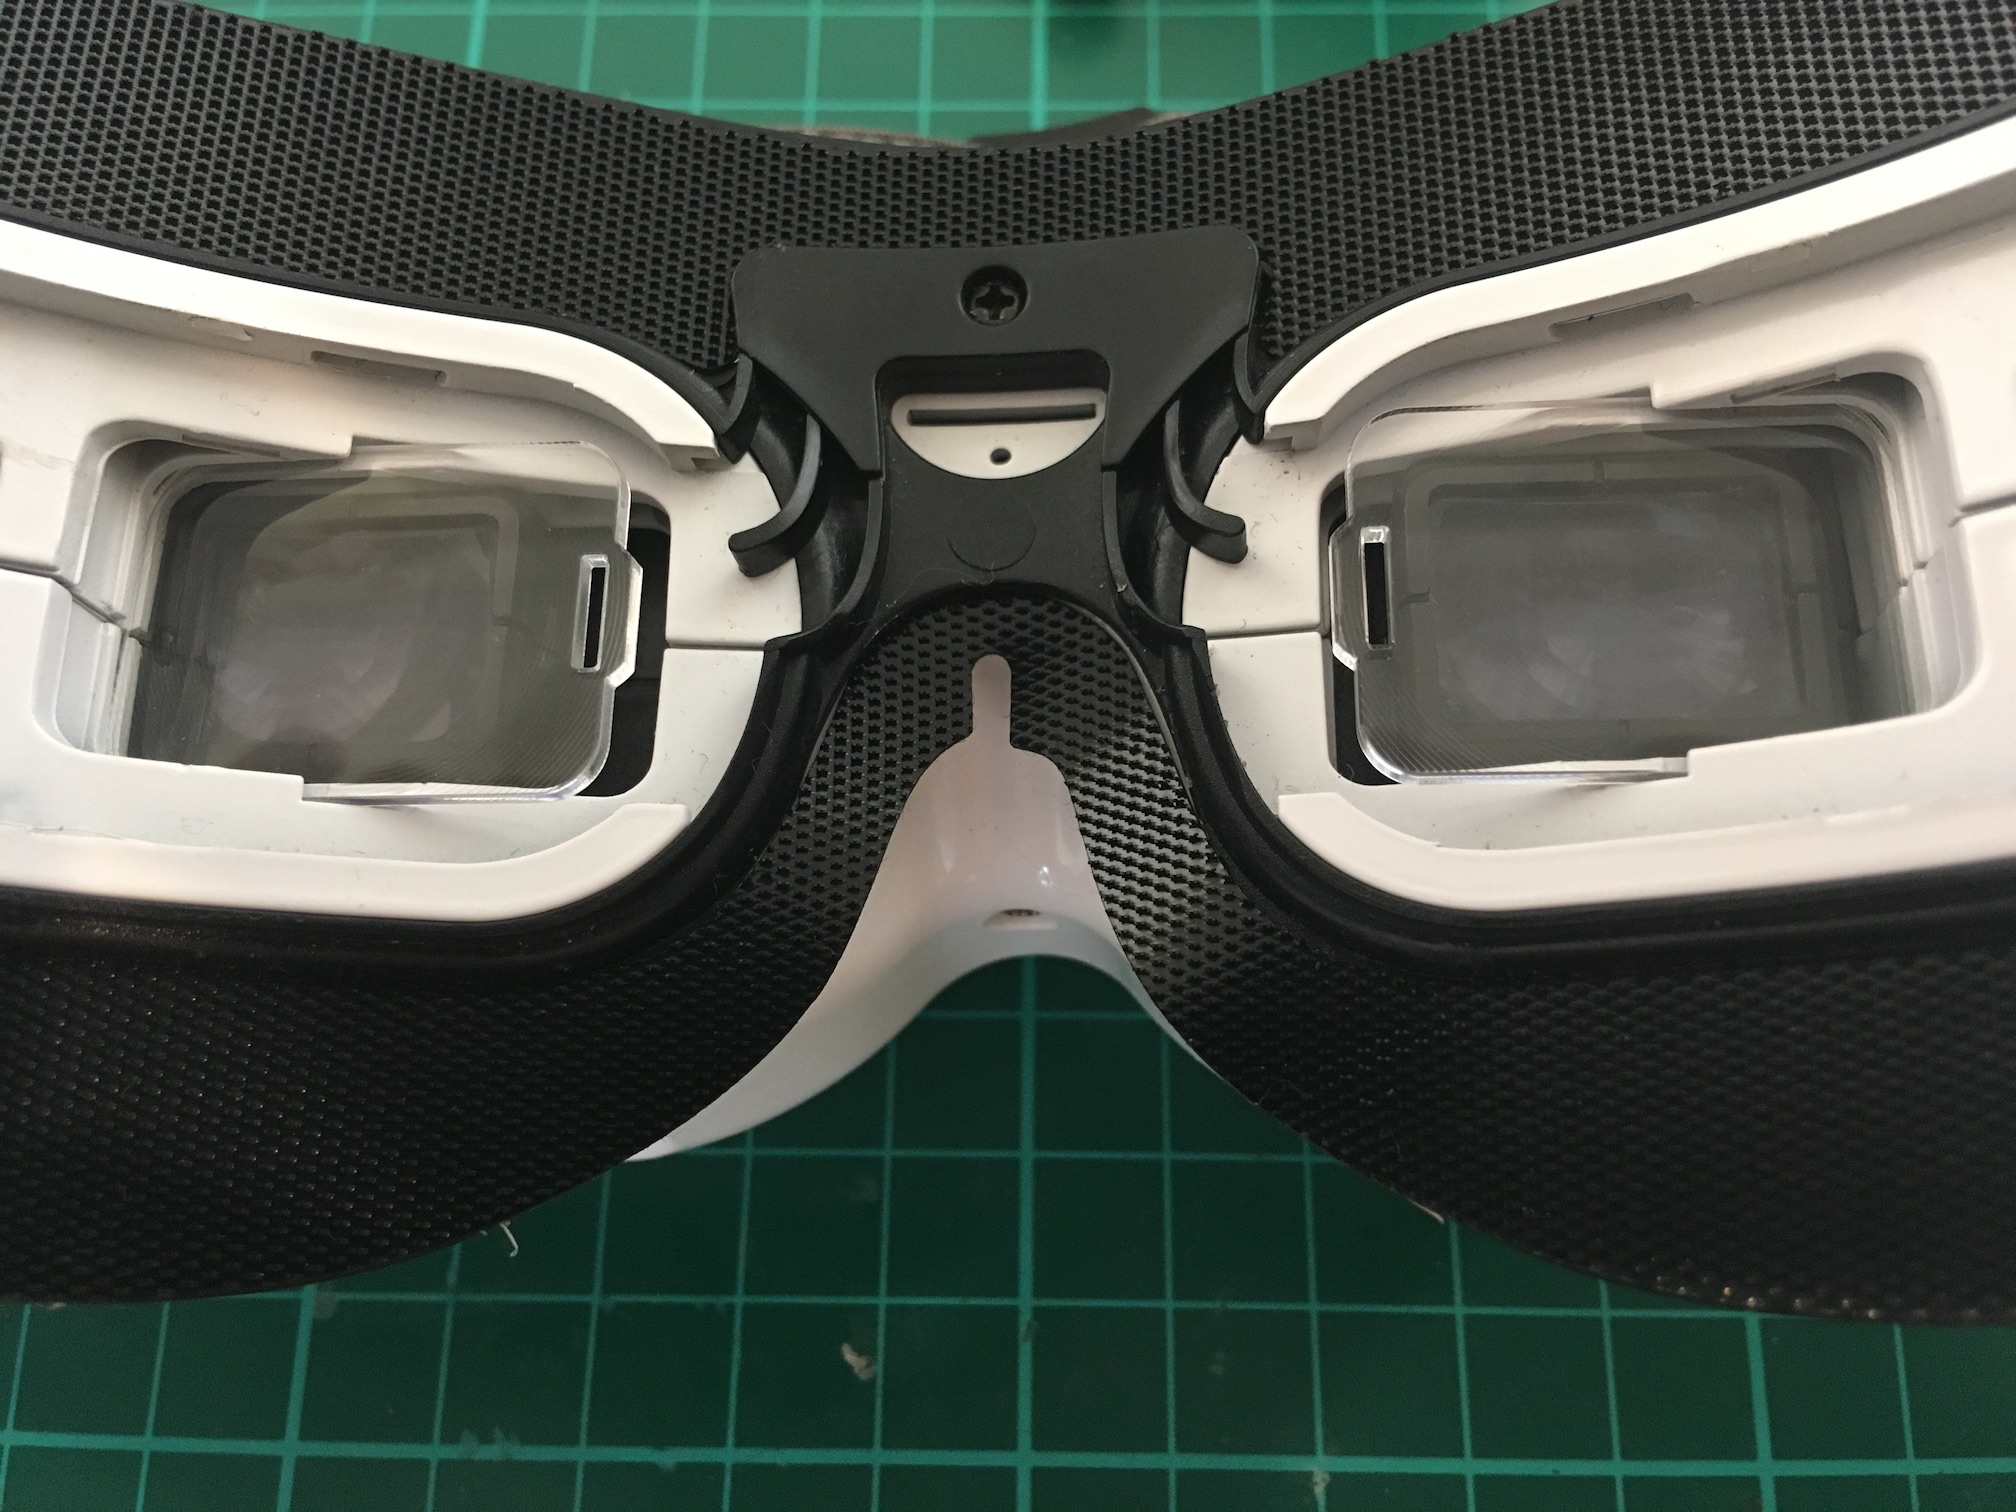
- Prepare the diopter lenses
- Install the diopter lenses. Unfortunately, these lenses are loose on the goggles. Not recommended
- Prepare the 18650 battery case.
- Prepare the 18650 cells and install inside the battery case. These are 3000mAh cells and should last quite a while. And I can always have spares on hand.
- Install the battery case on the strap.
- Prepare and install  the 45 degree SMA to RP-SMA adapter
- Prepare and install fan cover
- Prepare and install strap
- Done!
Before:
