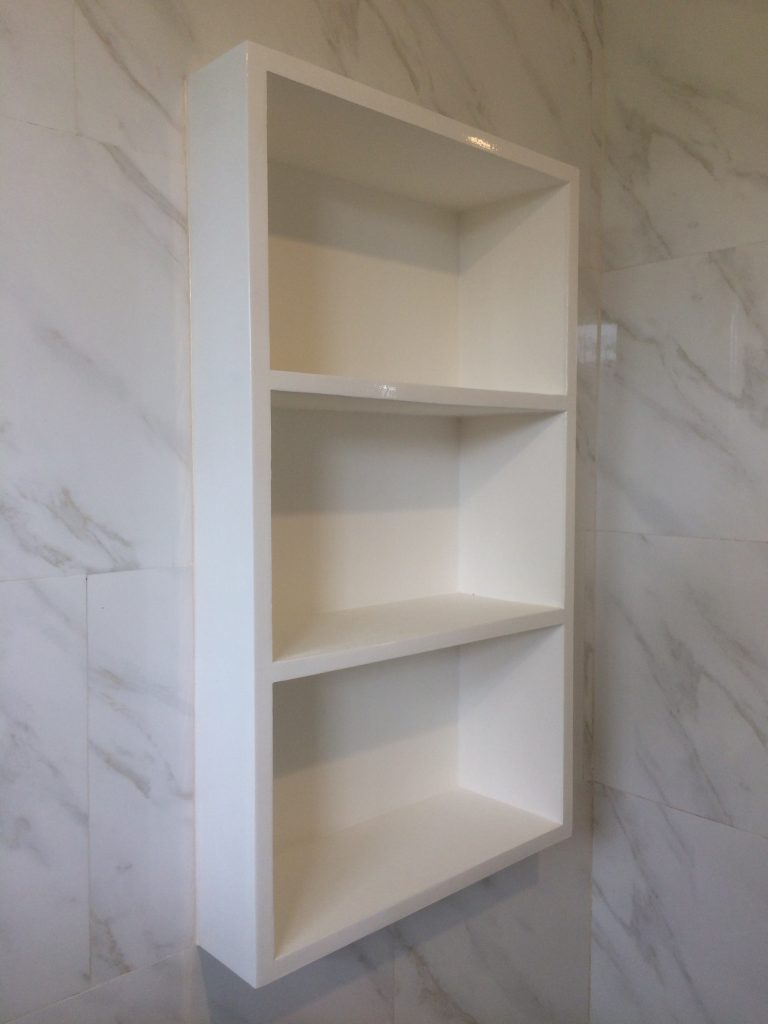
- Cutting I started with a 3/4″ plank which i sawed and sanded to size.
- Assembly I then glued and nailed the pieces together. I used nails because the plank was a bit warped so I had to force the pieces into position. I added a 1/4″ plywood as backing. Also to further help force the pieces into position.
- Filling I filled the seams, pits, and imperfections with 2-part polyester bodyfiller. This stuff is awesome! It’s firm and easy to work with and dries fast and hard.
- Sanding I then sanded everything with 240-grit sandpaper. I test-mounted the cabinet into the recess. It fit more or less.
- Priming I then primed the wood with Boysen Flat Wall Enamel. I searched high and low for something that actually says “primer” but I couldn’t find any. So I got the flat wall enamel. Luckily, it turned out to be what Boysen recommends for use as primer for quick dry enamel. I applied 3 coats of primer, sanding with 240-grit sandpaper between coats. I press-fitted the cabinet into the recess.
- Grouting When I was happy with the fit, I filled the seams between the tiles and the cabinet with pre-mixed grout.
- Painting I then painted the cabinet with 2 coats of Davies Gloss-It quick dry enamel, wet sanding with 600 grit sandpaper between coats. But I didn’t like the off-white shade of Davies so for the top/final coat, I used Boysen Quick Dry Enamel.
Next up, the mirrored door.